Estás utilizando un navegador obsoleto. Puede que este u otros sitios no se muestren correctamente.
Debes actualizarlo o utilizar un navegador alternativo.
Debes actualizarlo o utilizar un navegador alternativo.
Off Topic e9 Empresas y tribulaciones en BBlau042
- Iniciador del tema dequincey
- Fecha de inicio
dequincey
Forista Legendario
- Modelo
- be em be e neun
- Registrado
- 5 Nov 2009
- Mensajes
- 11.070
- Reacciones
- 9.862
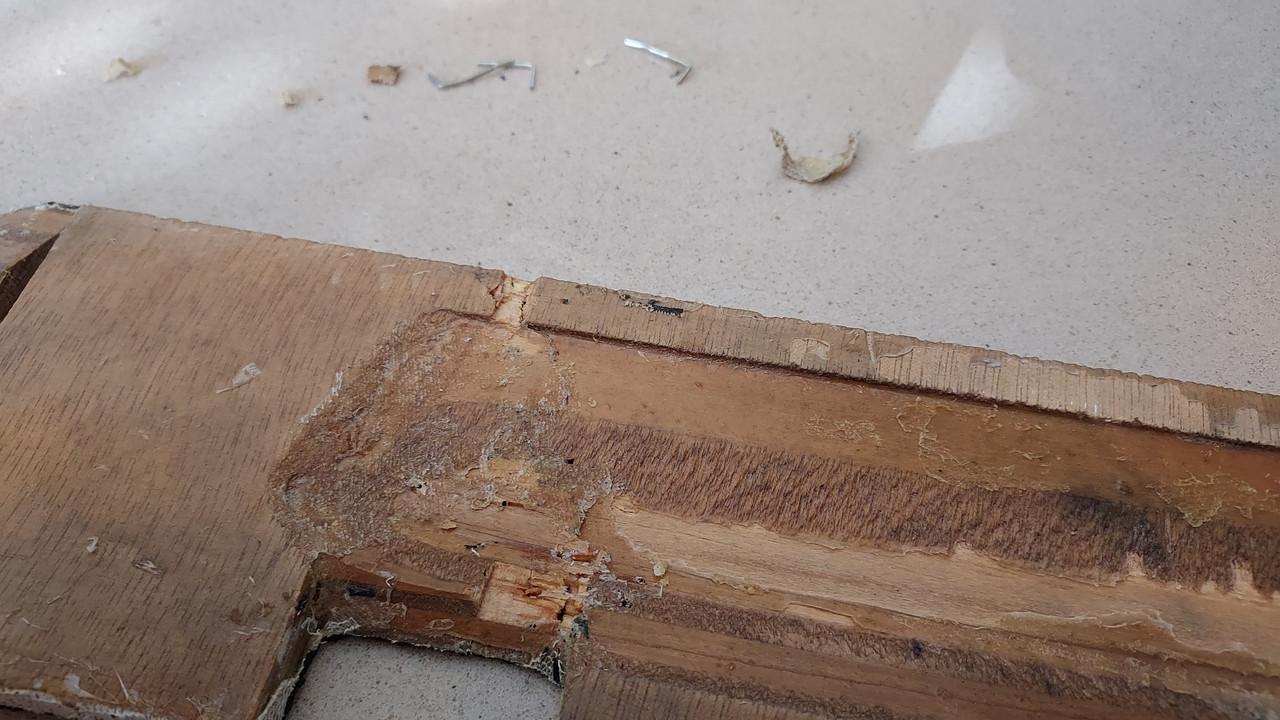
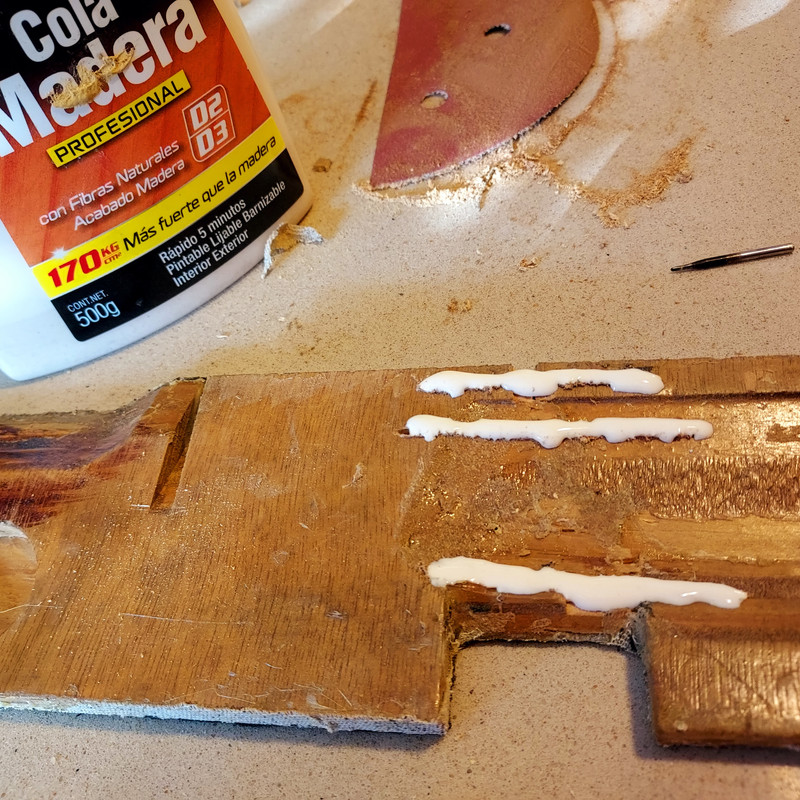
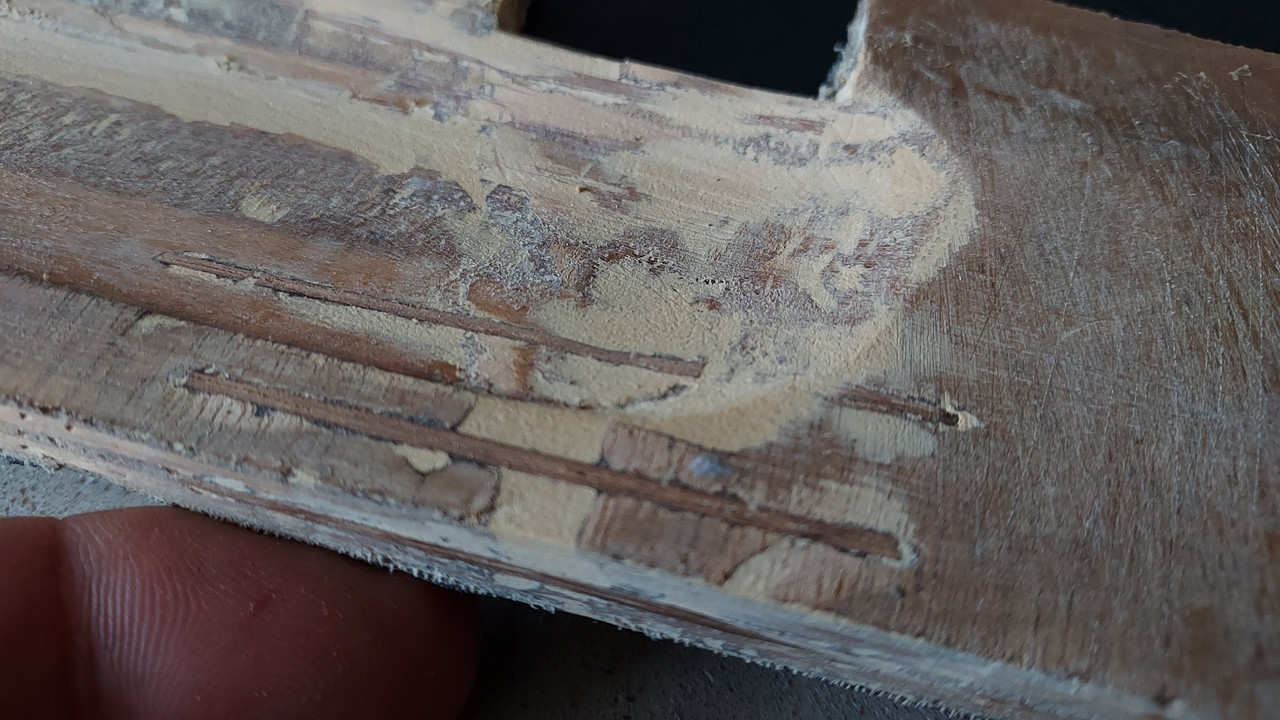
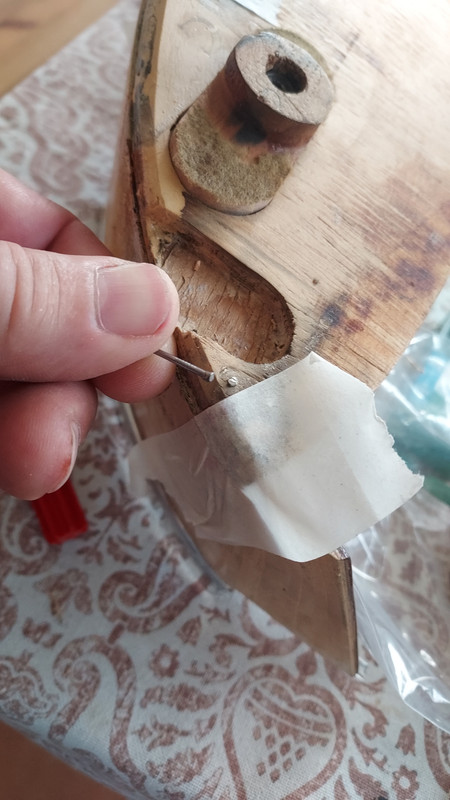
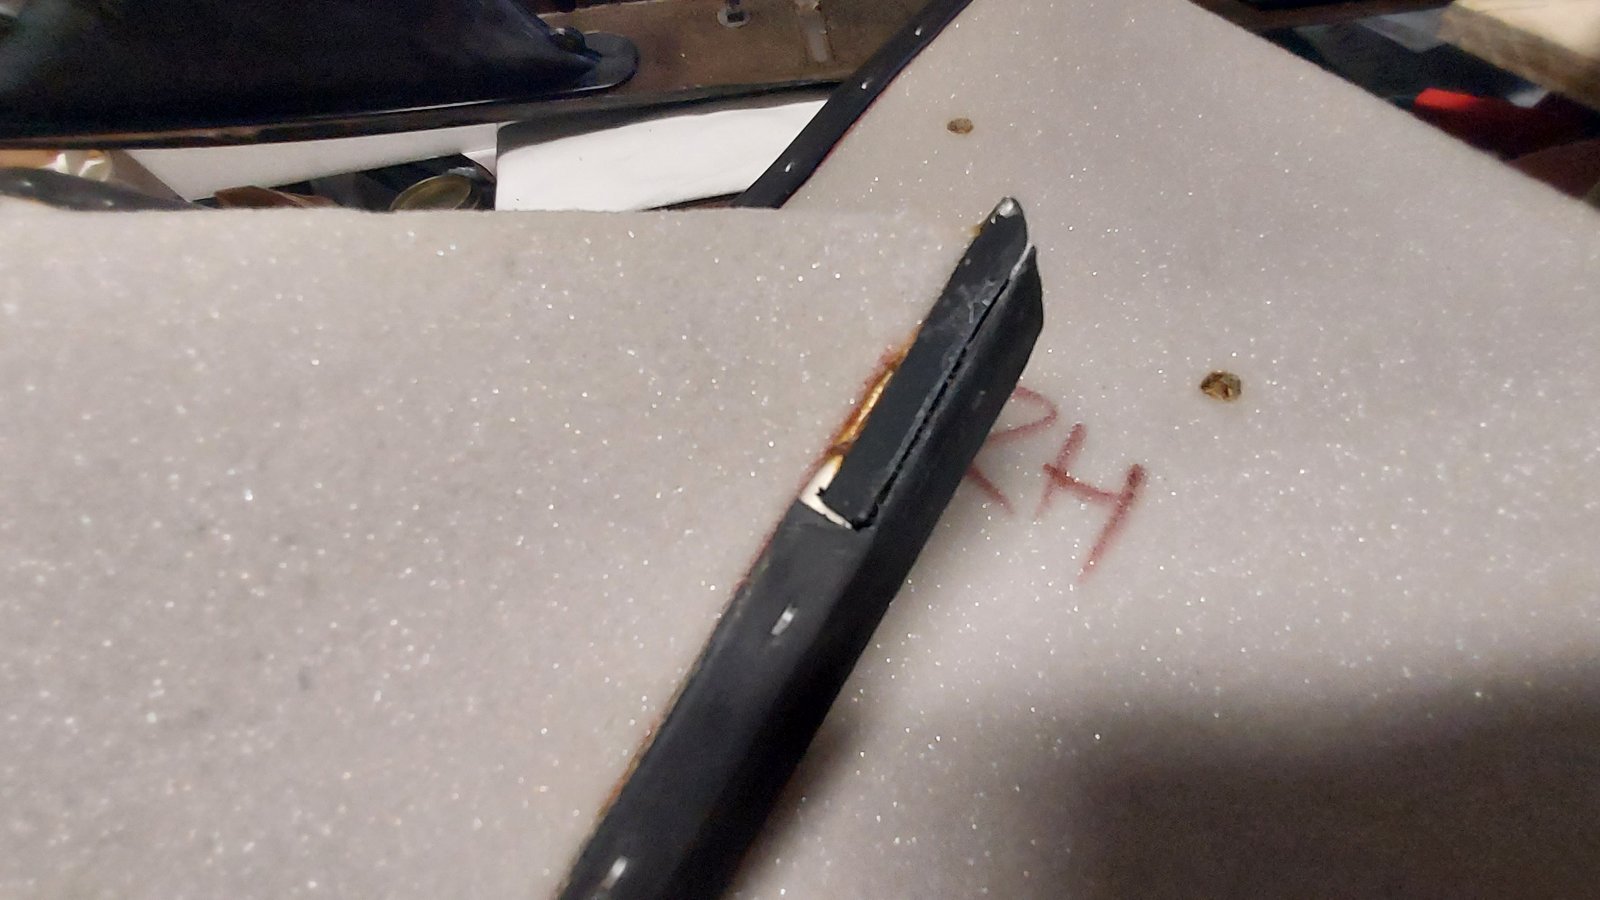
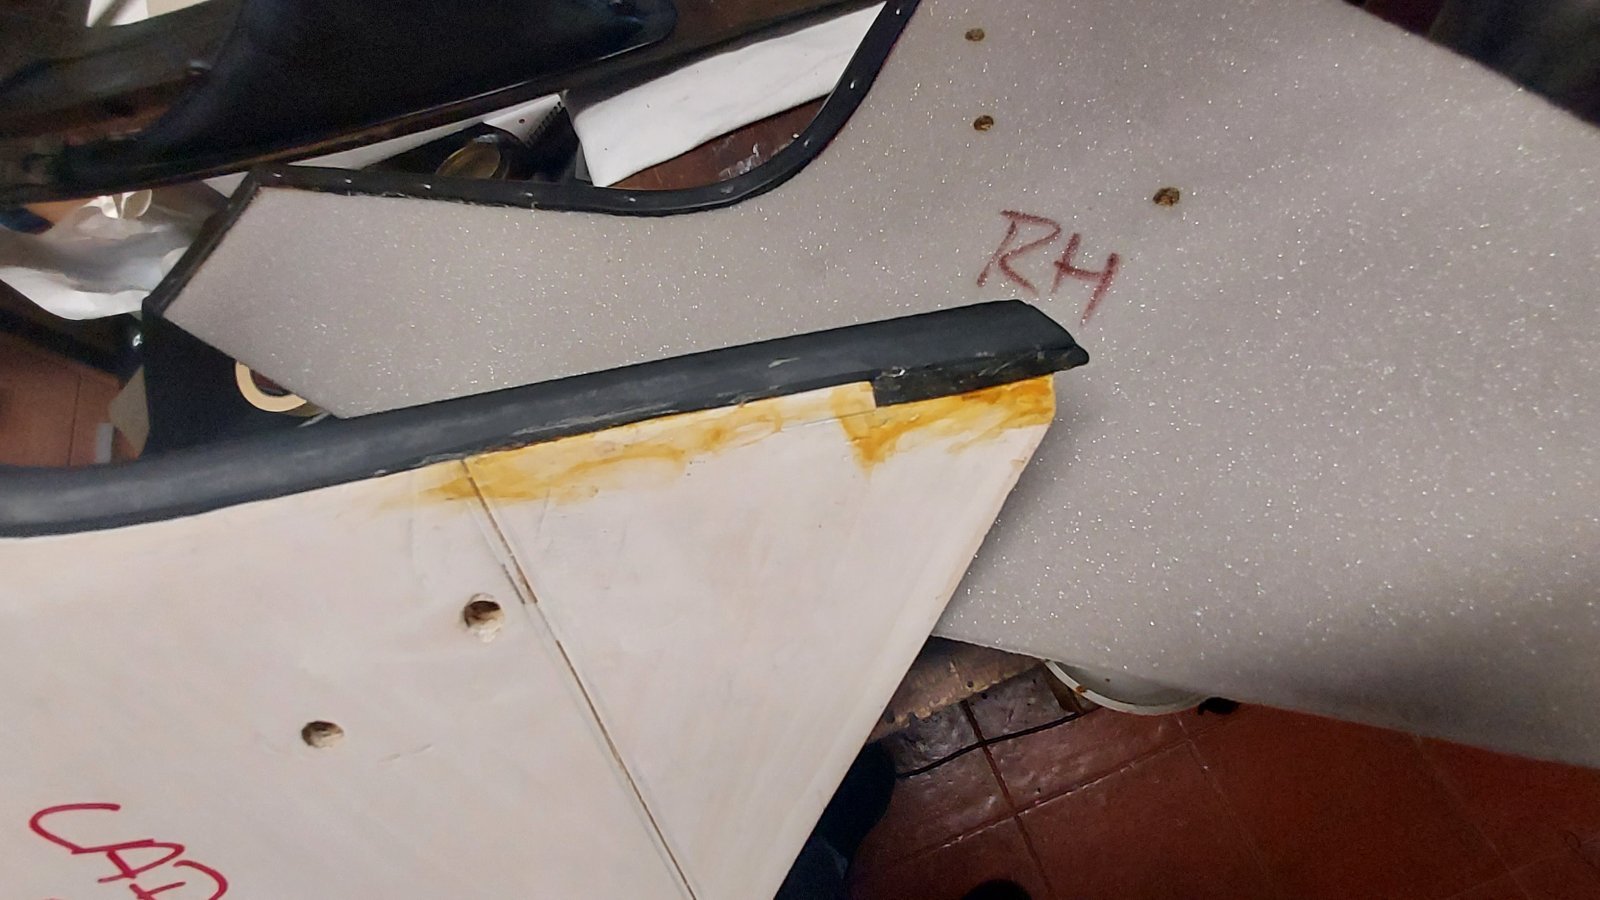
come to the dashboard wood, as I have two of these, doing in pairs, on one of them I found a crack in the weakest point, it is a delicate part, not only narrow but also thin due to a cavity below, it is prone to cracks, both of mine were broken, this one was catastrophic , so did a compound to restore the structural rigidity by adding four strong pieces stitching the wood

Última edición:


dequincey
Forista Legendario
- Modelo
- be em be e neun
- Registrado
- 5 Nov 2009
- Mensajes
- 11.070
- Reacciones
- 9.862
¿Qué madera es?")
madera de npi, ni idea, entre cerezo y nogal estoy
dequincey
Forista Legendario
- Modelo
- be em be e neun
- Registrado
- 5 Nov 2009
- Mensajes
- 11.070
- Reacciones
- 9.862
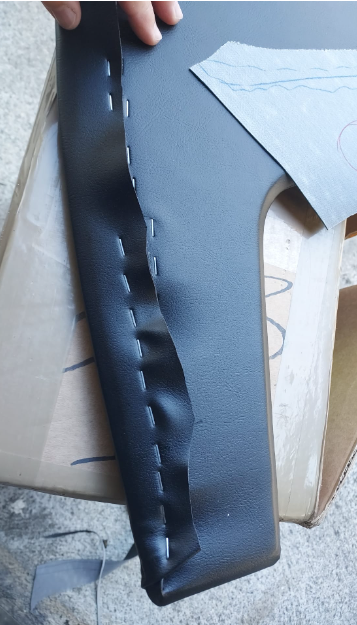
who needs metaverse ? Cuando puedes coser…
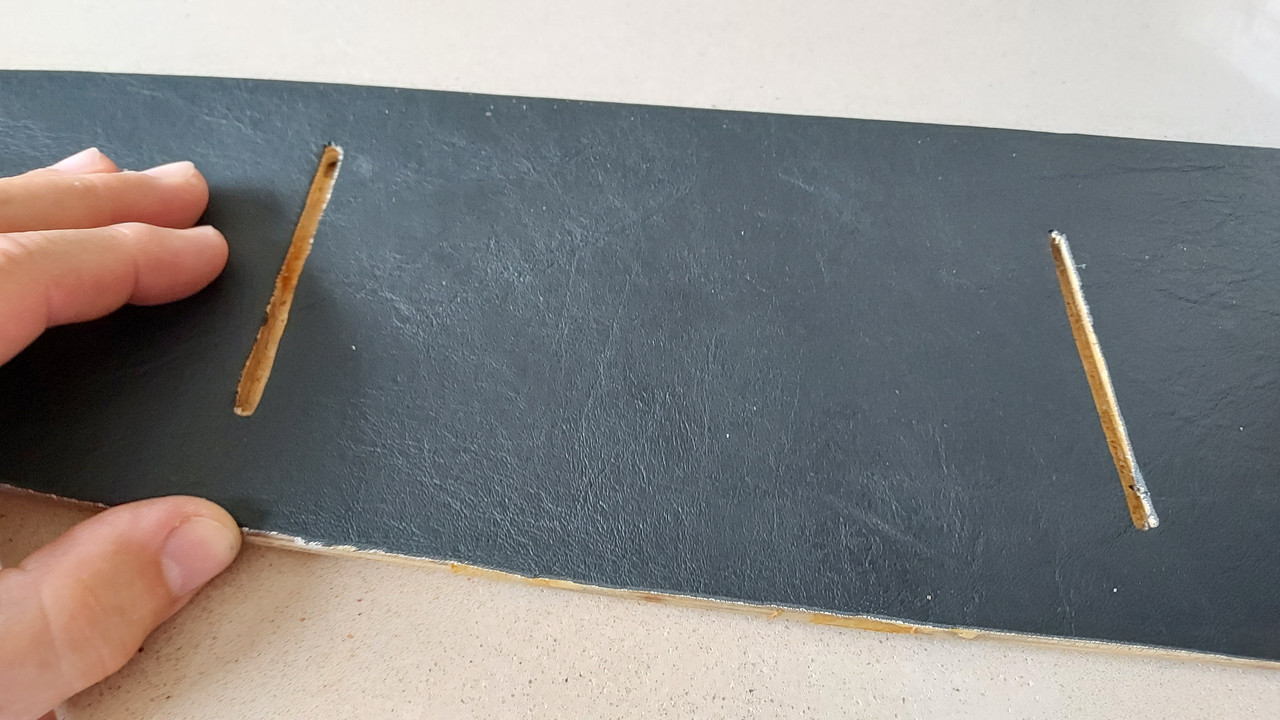
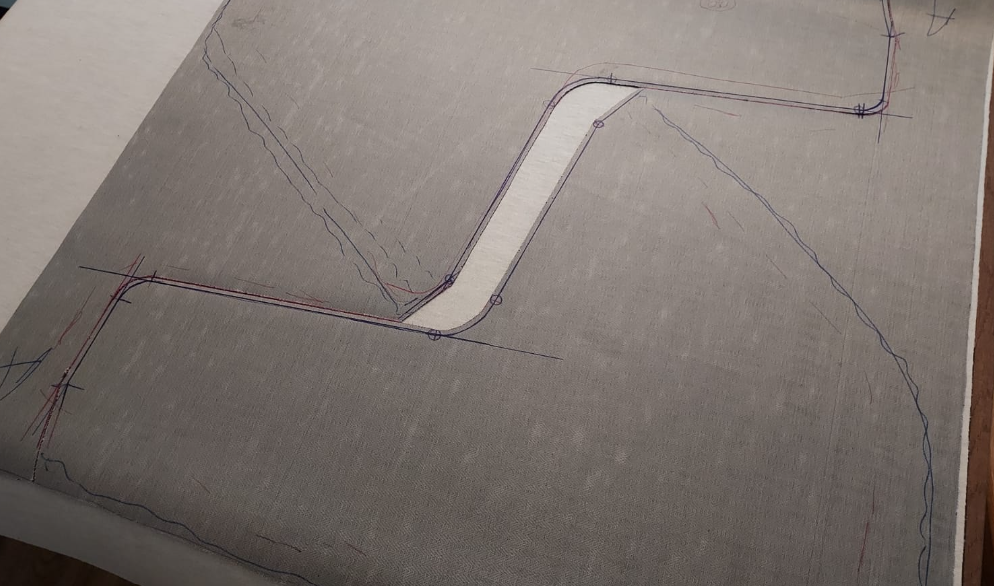
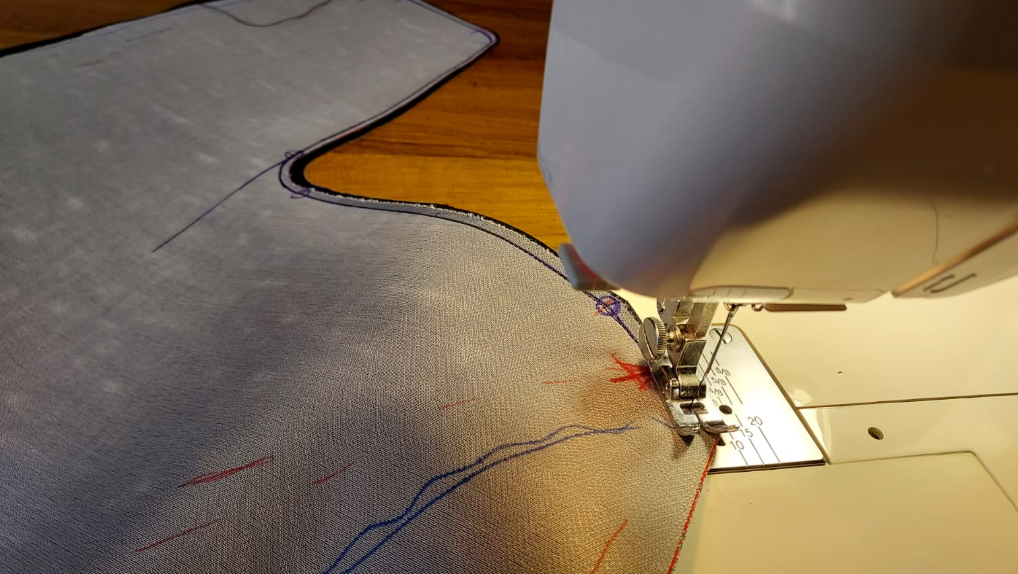
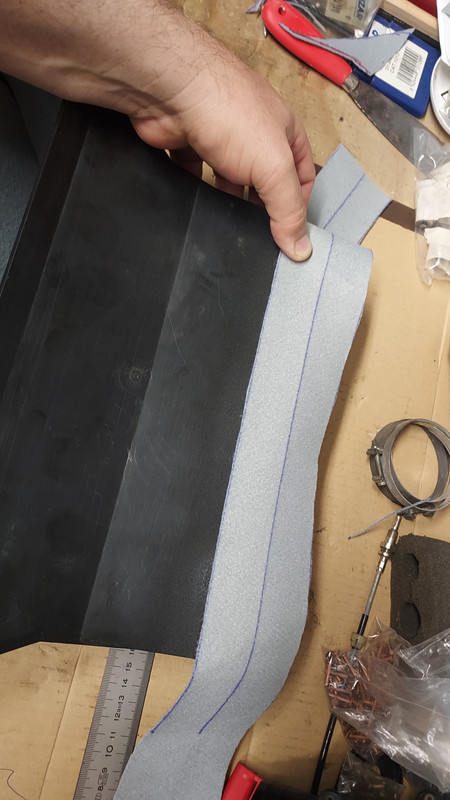
the rebel paper template...and the solid keepers
ready
fantastic

some tips,
before starting use only one side marked and place the other side with plenty of excess, you will cut it afterwards
sew 4mm inside the border or give 4 mm excess, when you turn it inside out you will have that small corner to introduce it in the rubber channel of the lateral console
before starting sewing just sew 1cm long in both extremes to somehow fix the 2 pieces so that they do not move in excess
enjoy
the rebel paper template...and the solid keepers
ready
fantastic
some tips,
before starting use only one side marked and place the other side with plenty of excess, you will cut it afterwards
sew 4mm inside the border or give 4 mm excess, when you turn it inside out you will have that small corner to introduce it in the rubber channel of the lateral console
before starting sewing just sew 1cm long in both extremes to somehow fix the 2 pieces so that they do not move in excess
enjoy
xavier sarda
Forista
- Registrado
- 7 May 2013
- Mensajes
- 1.043
- Reacciones
- 520
siguiendo con salpicadero,…presentando cosas
Mas o menos asi…me lo ha chivado xevi

principio y marcas

Recuperando grab-bar

A sus pies maestro!

xavier sarda
Forista
- Registrado
- 7 May 2013
- Mensajes
- 1.043
- Reacciones
- 520
>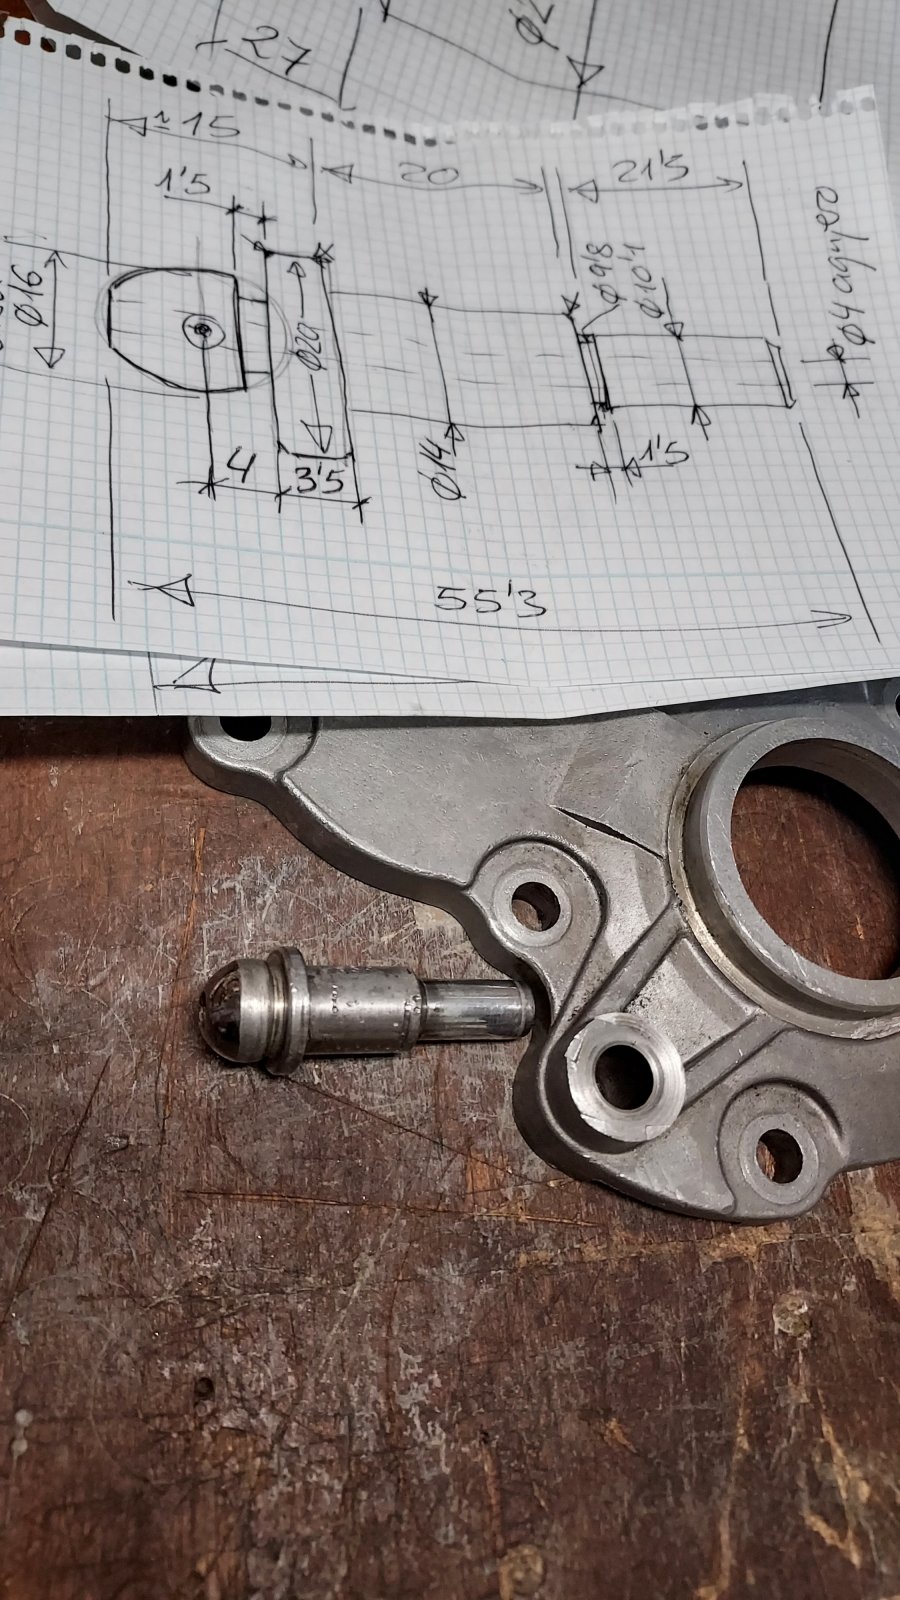
A ver si hago una
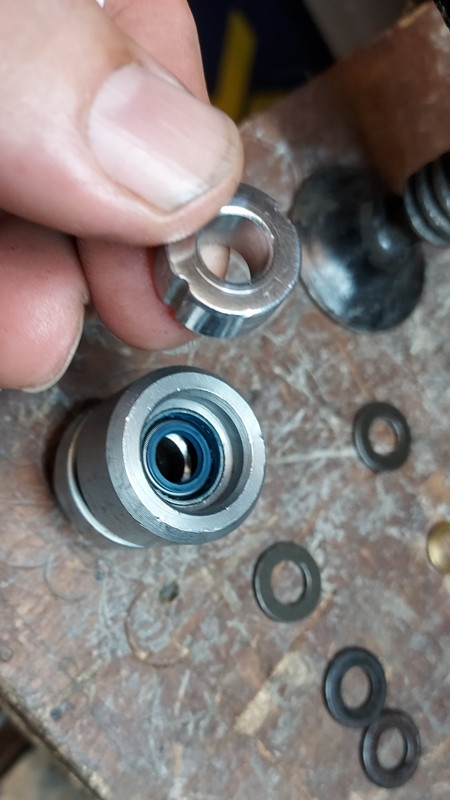
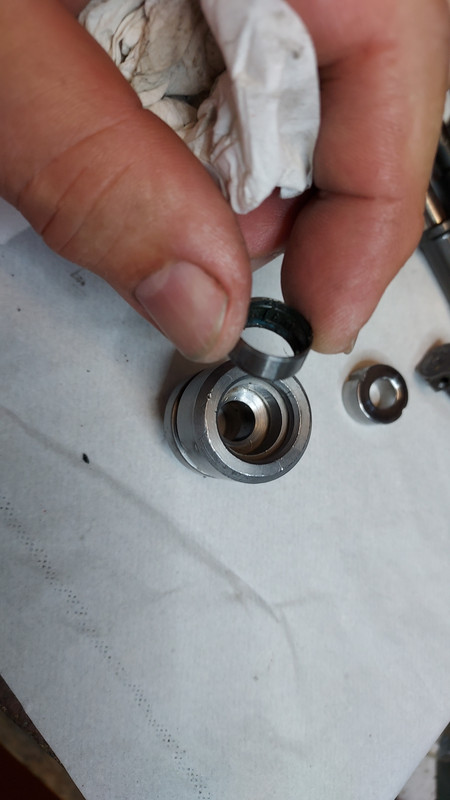
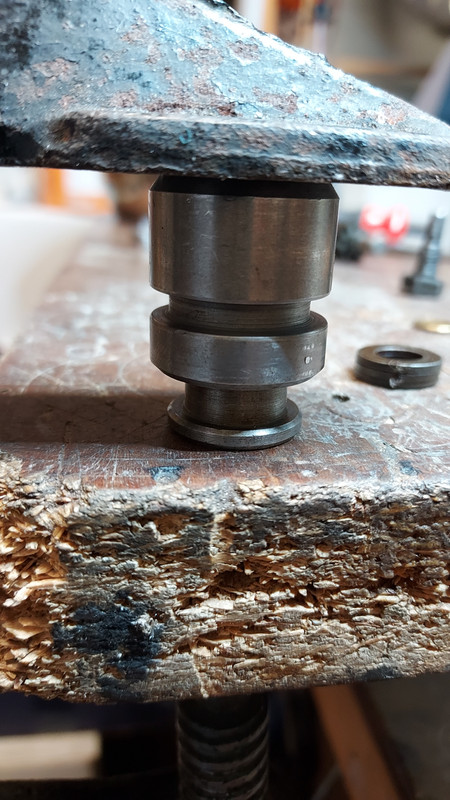
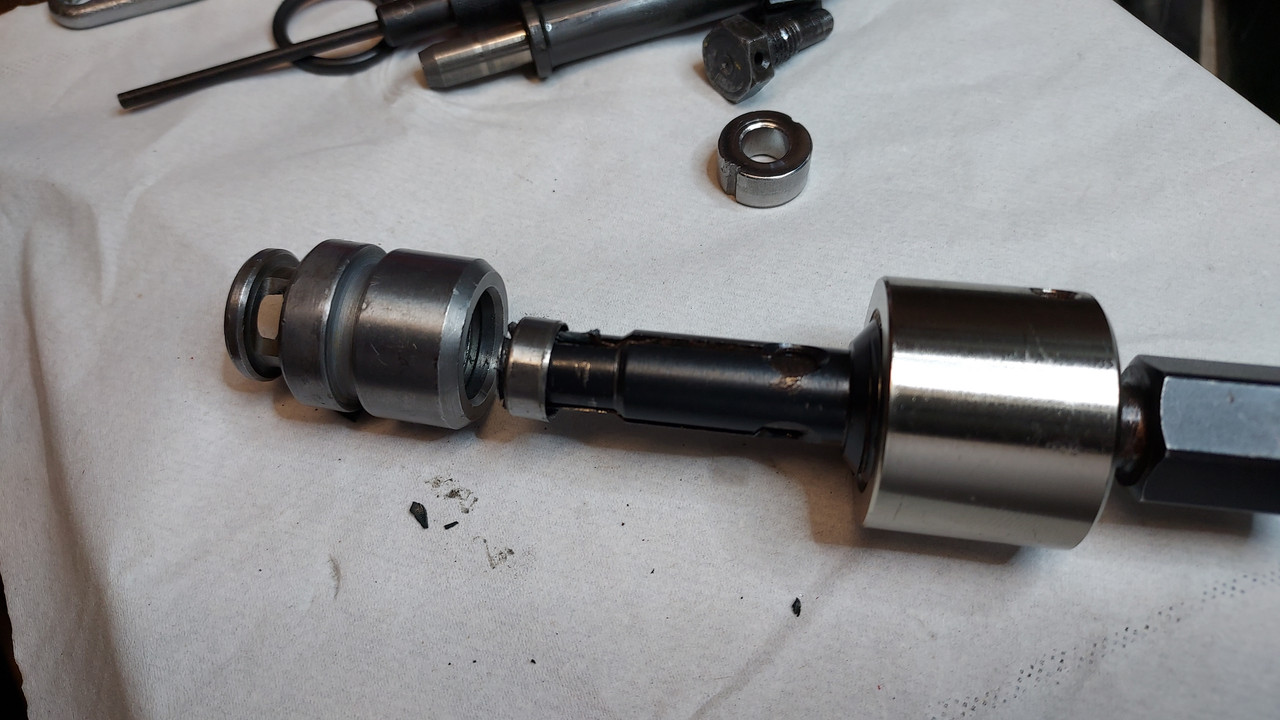
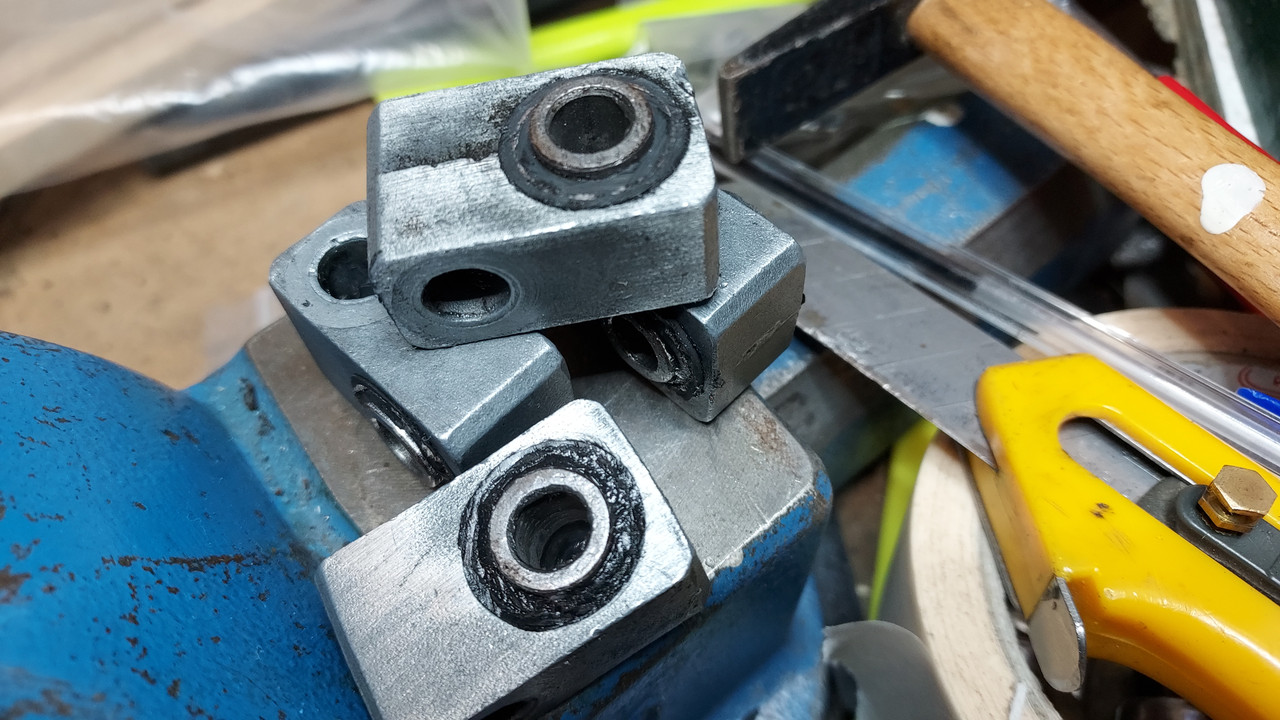
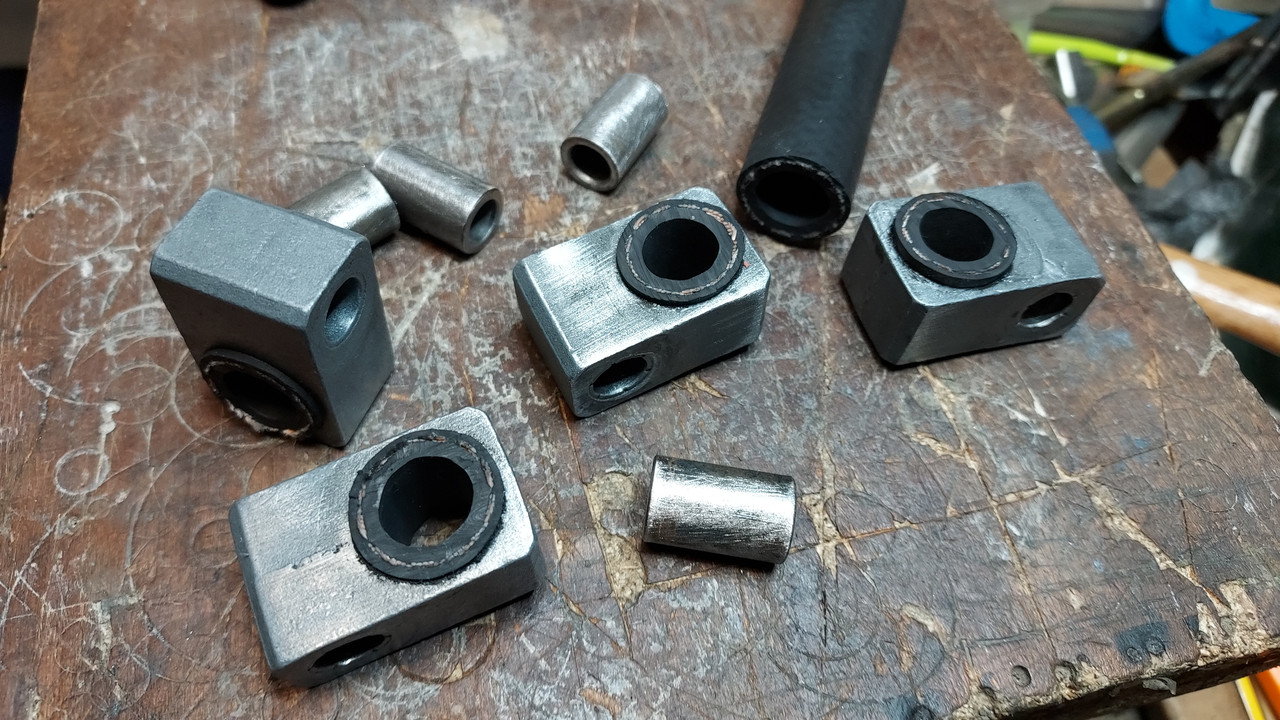
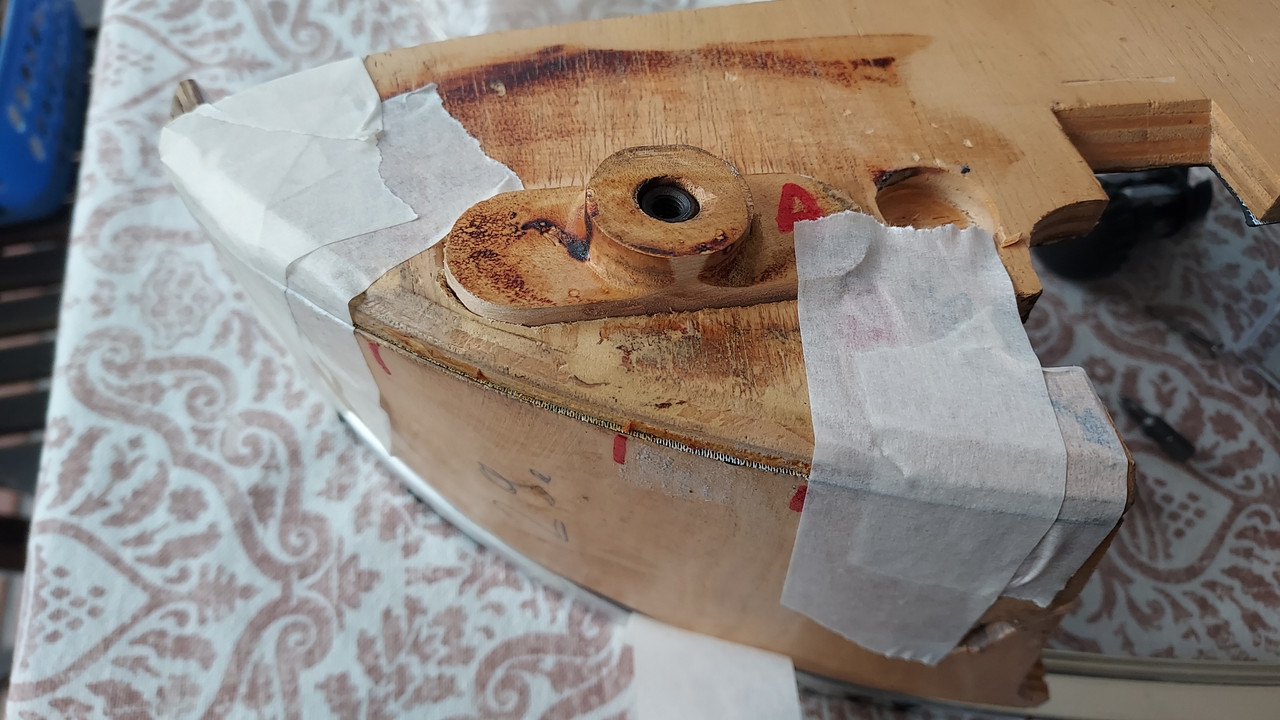
went to a friend to reproduce one as they are NLA
Un tornero te tendria que poder hacer una copia….
dequincey
Forista Legendario
- Modelo
- be em be e neun
- Registrado
- 5 Nov 2009
- Mensajes
- 11.070
- Reacciones
- 9.862
Un tornero te tendria que poder hacer una copia….
asi es...
...y me la ha hecho
Última edición:


dequincey
Forista Legendario
- Modelo
- be em be e neun
- Registrado
- 5 Nov 2009
- Mensajes
- 11.070
- Reacciones
- 9.862
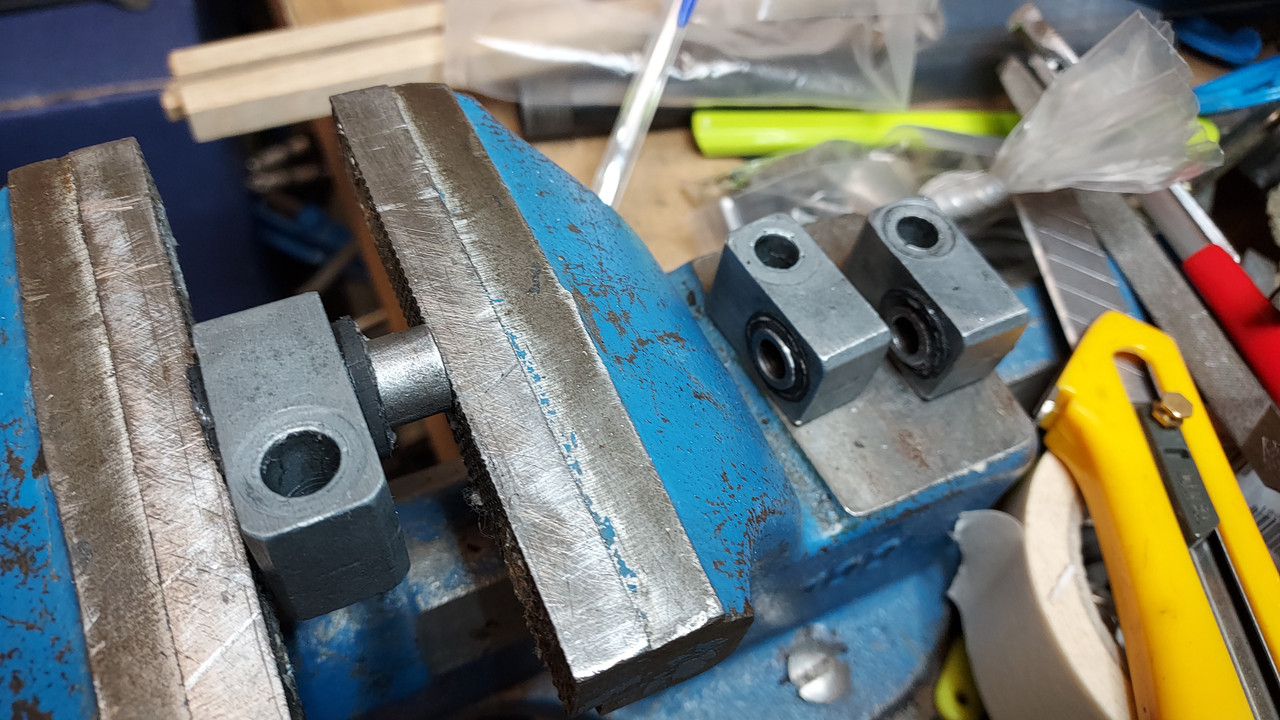
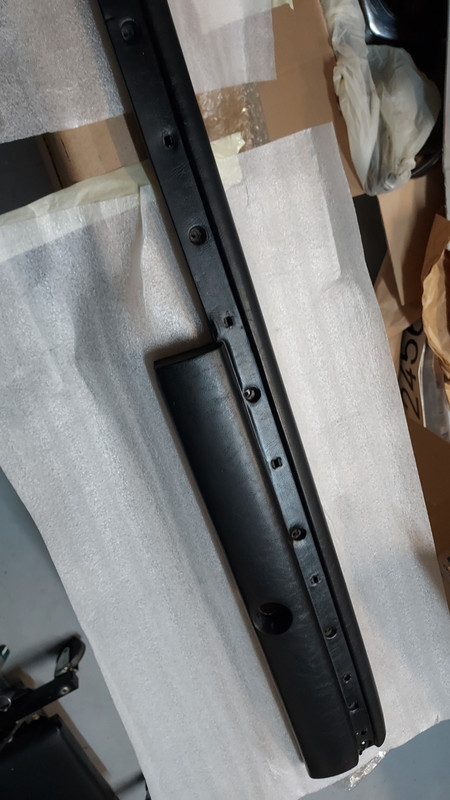
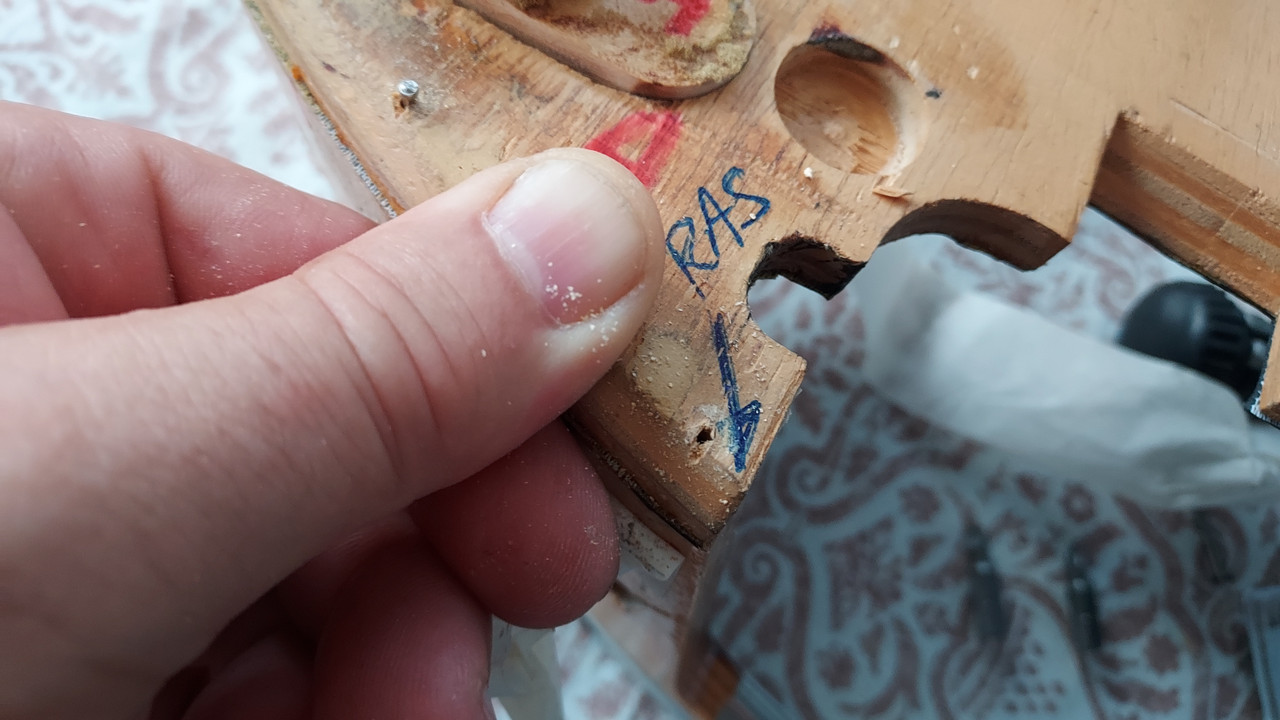
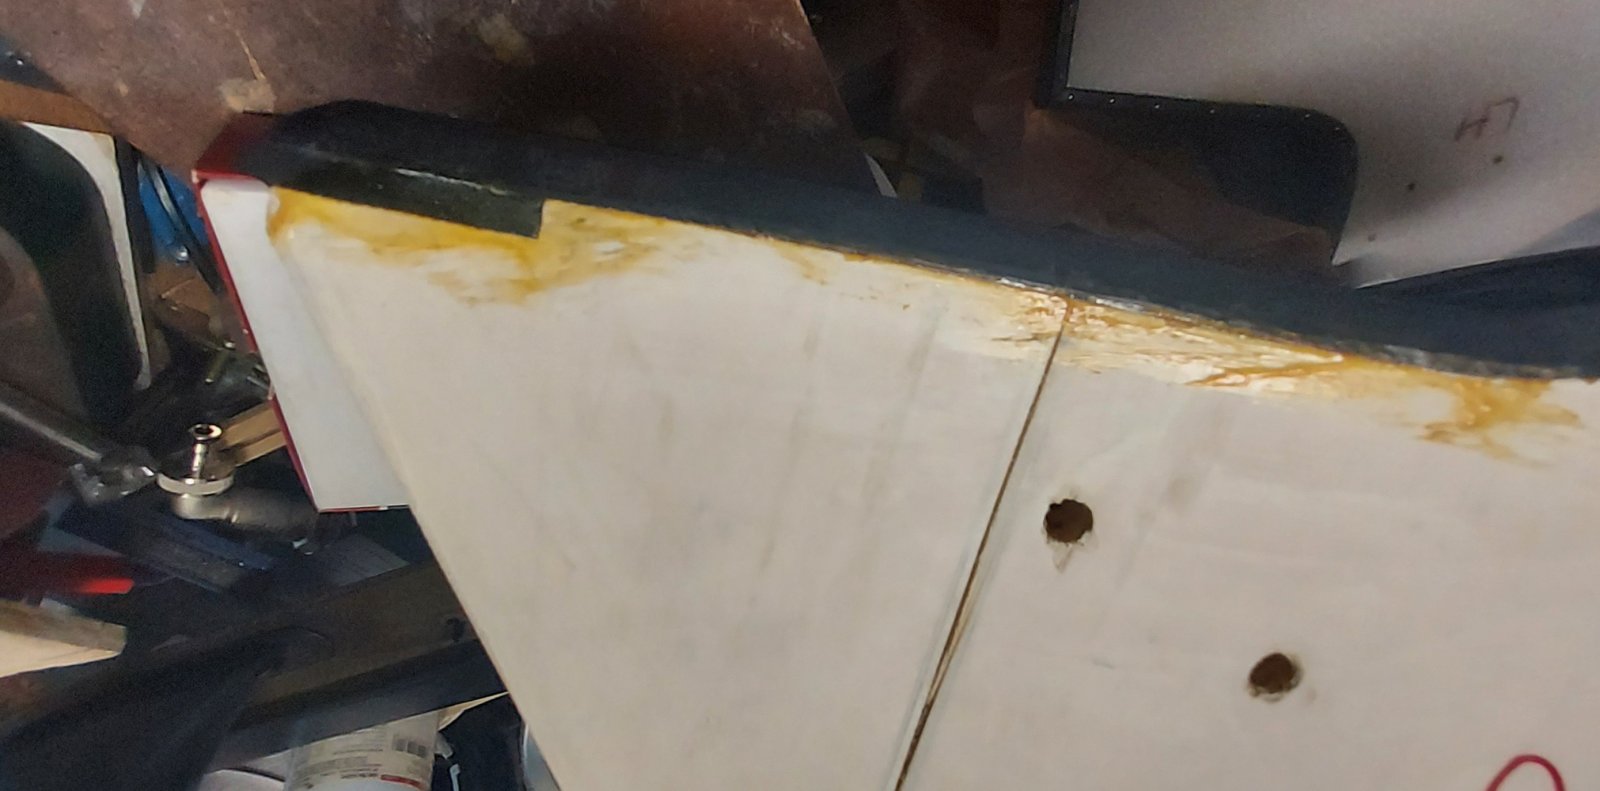
a difficult time it came with the need for fixing the horizontal wood piece to the vertical ones
i made a trial on the body mounted on duct tape, it seemed fine, but setting some screws freeze everything in place forever,
i used the trim part as a support to join both wood bits on top,
them i checked how the shapes fit together,
made some changes in positions and started with the joint procedure
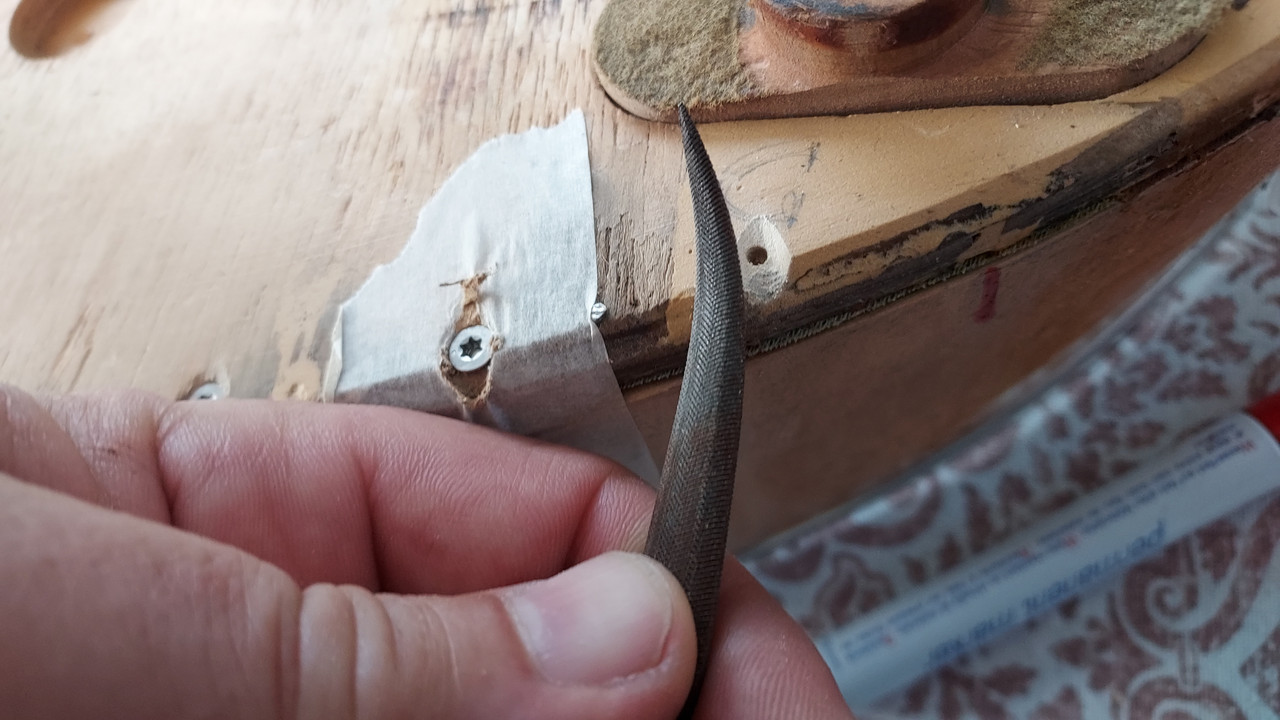
i felt that in order to introduce the screws the process is a bit laborious as drilling is involved
i found better to use nails as references, but i predrill the position, the nails to be removed afterwards
i used torx headed SS screws,
3x30 for the wood to wood, drilling with a 2mm drill
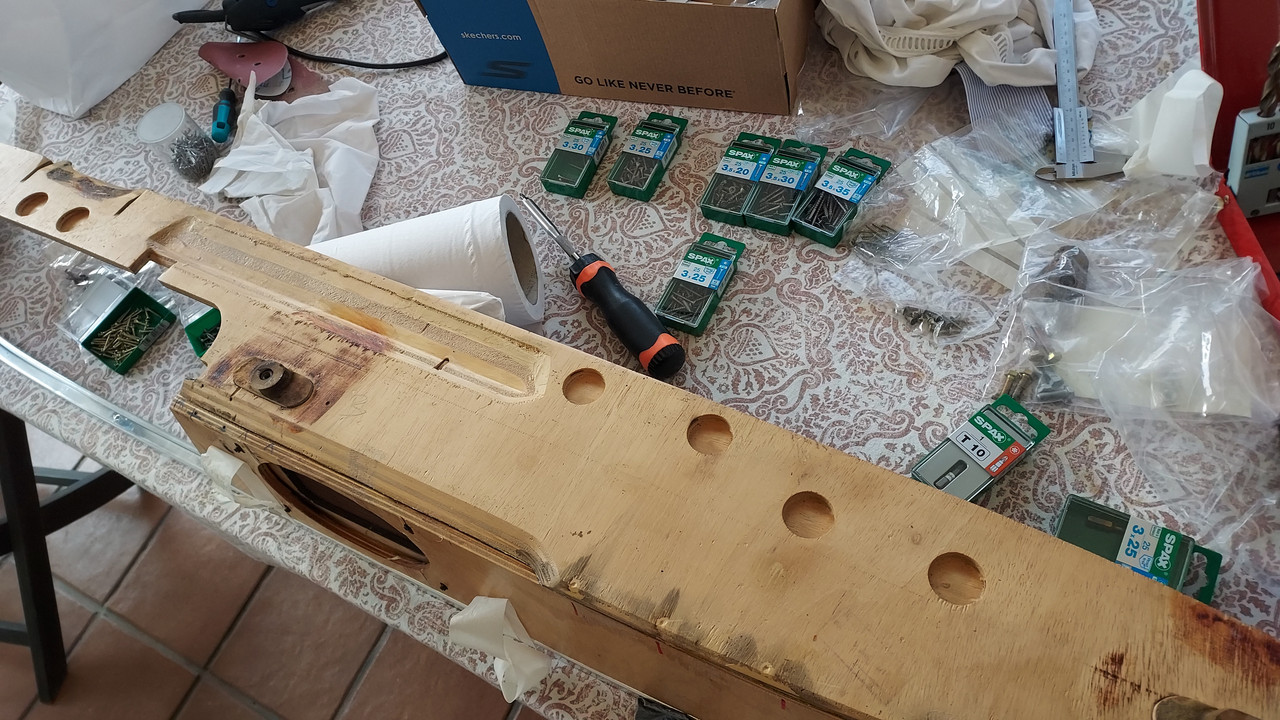
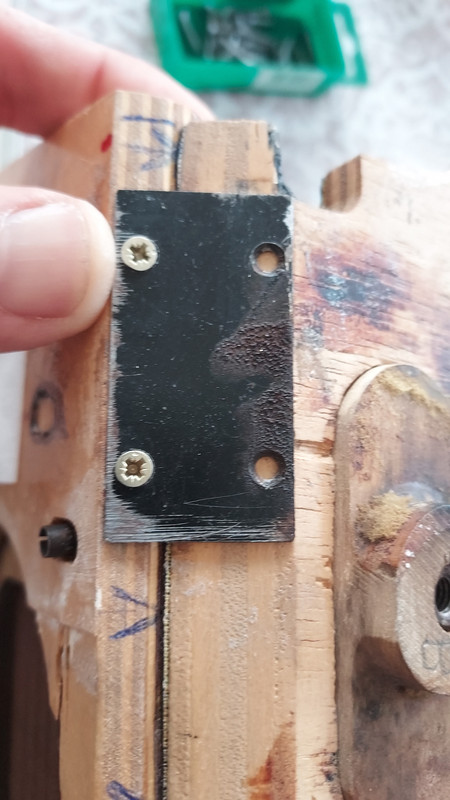
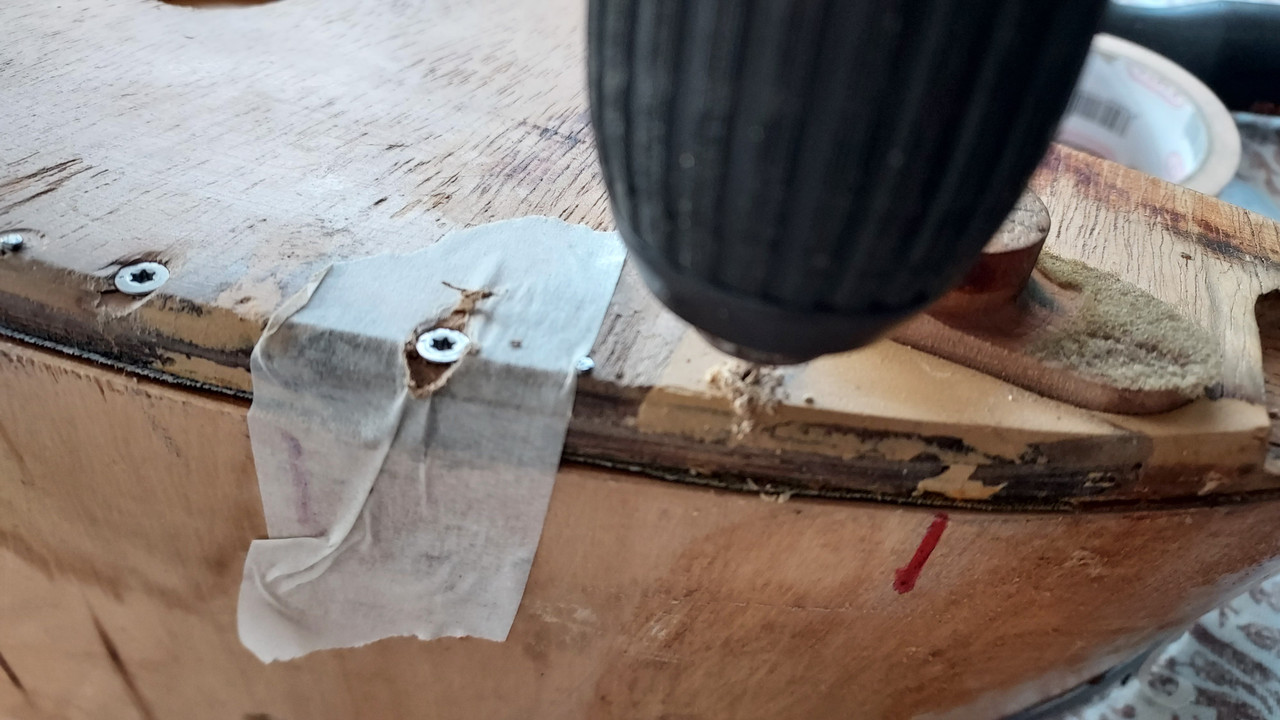
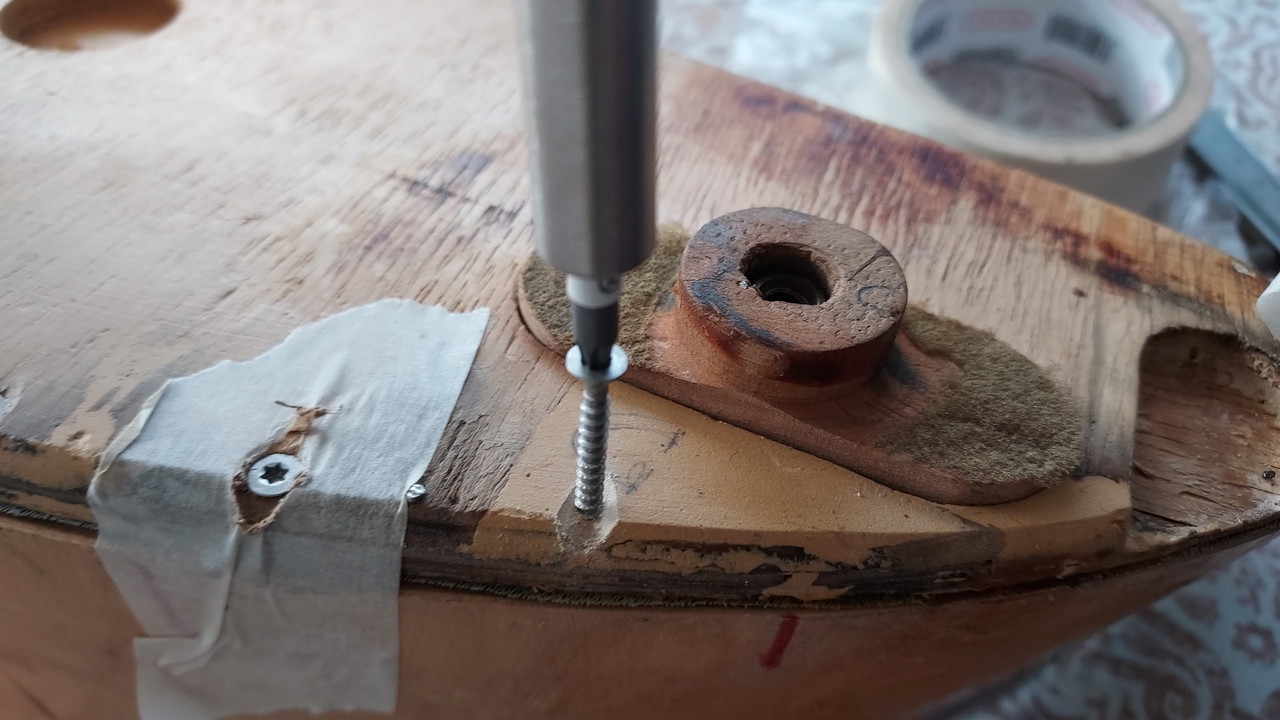
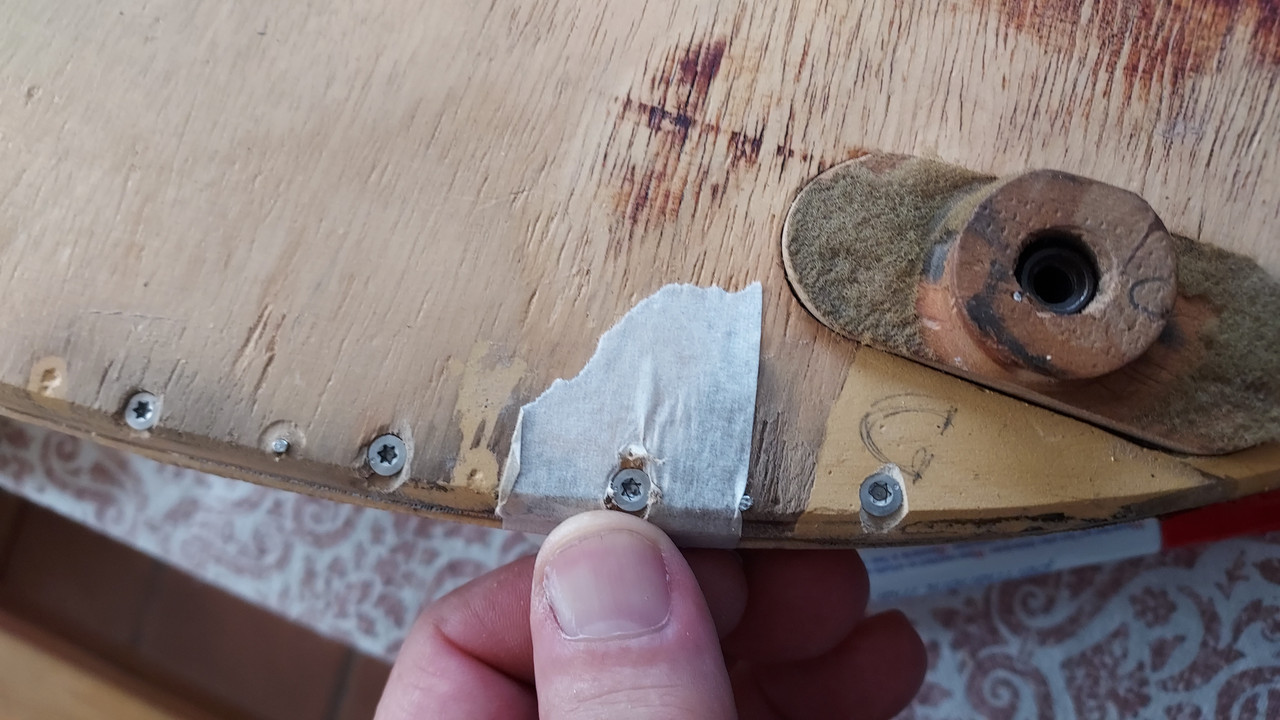


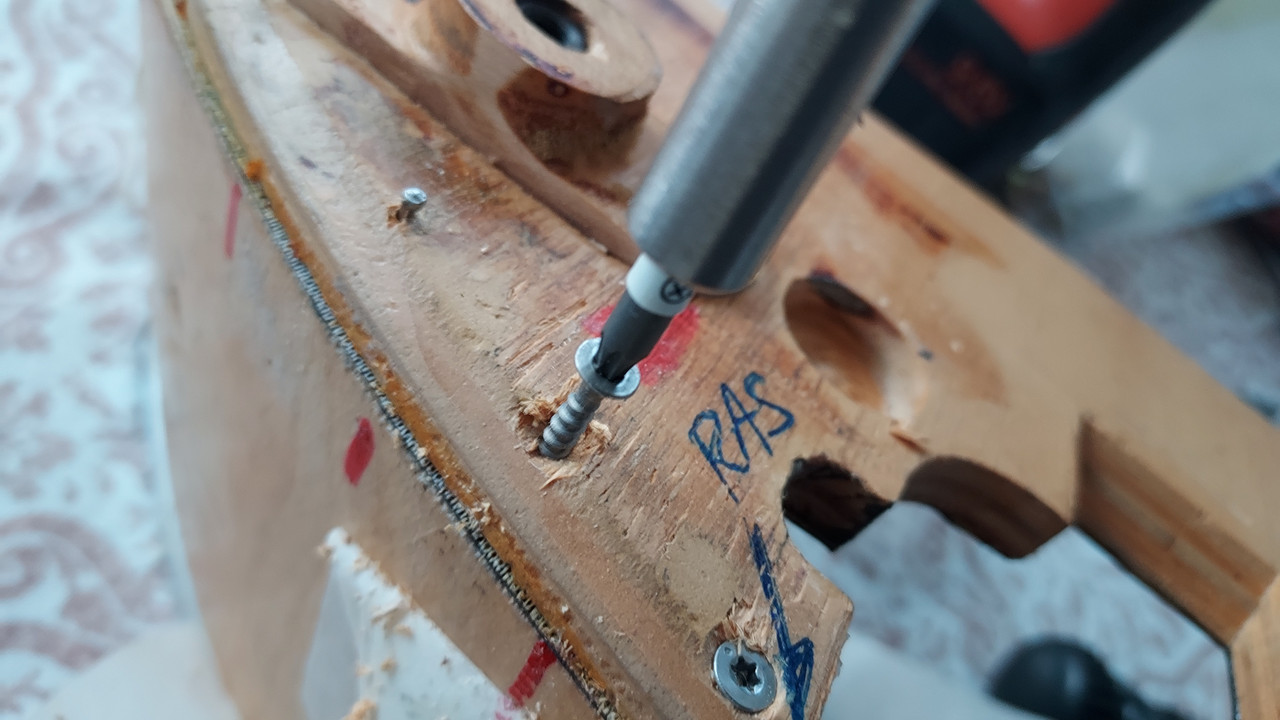
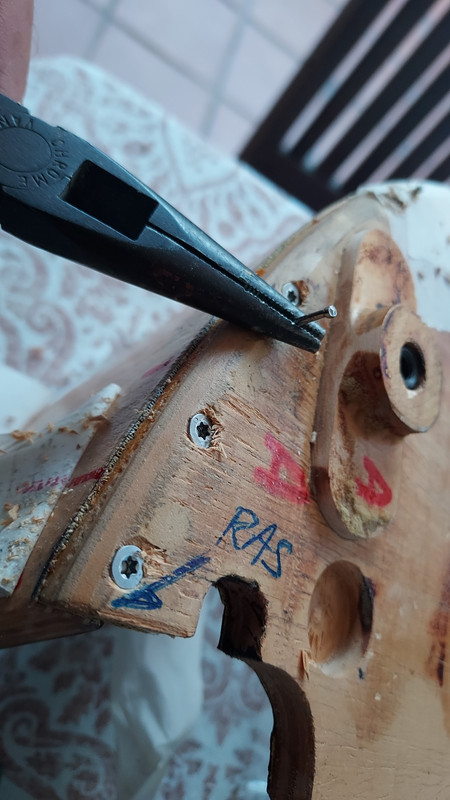
then 3x16 for the top alu trim, a bit longer than the originals, but originals seemed ridiculous like 3x8
went well, satisfied with outcome.
i made a trial on the body mounted on duct tape, it seemed fine, but setting some screws freeze everything in place forever,
i used the trim part as a support to join both wood bits on top,
them i checked how the shapes fit together,
made some changes in positions and started with the joint procedure
i felt that in order to introduce the screws the process is a bit laborious as drilling is involved
i found better to use nails as references, but i predrill the position, the nails to be removed afterwards
i used torx headed SS screws,
3x30 for the wood to wood, drilling with a 2mm drill
then 3x16 for the top alu trim, a bit longer than the originals, but originals seemed ridiculous like 3x8
went well, satisfied with outcome.
dequincey
Forista Legendario
- Modelo
- be em be e neun
- Registrado
- 5 Nov 2009
- Mensajes
- 11.070
- Reacciones
- 9.862
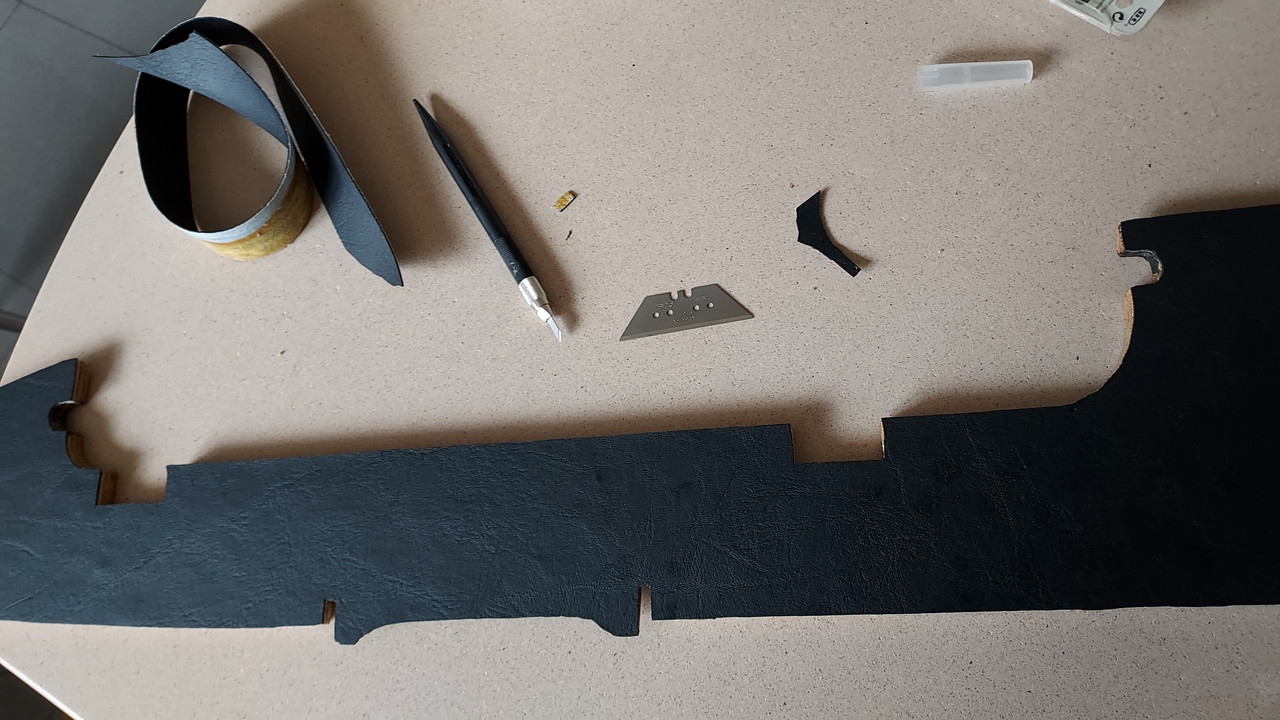
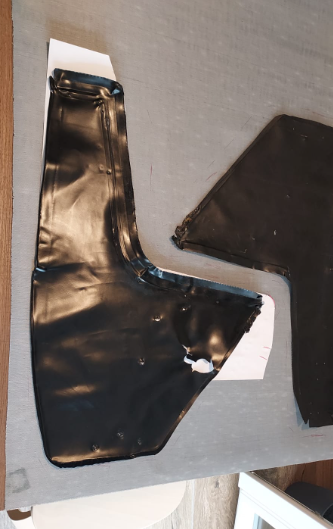
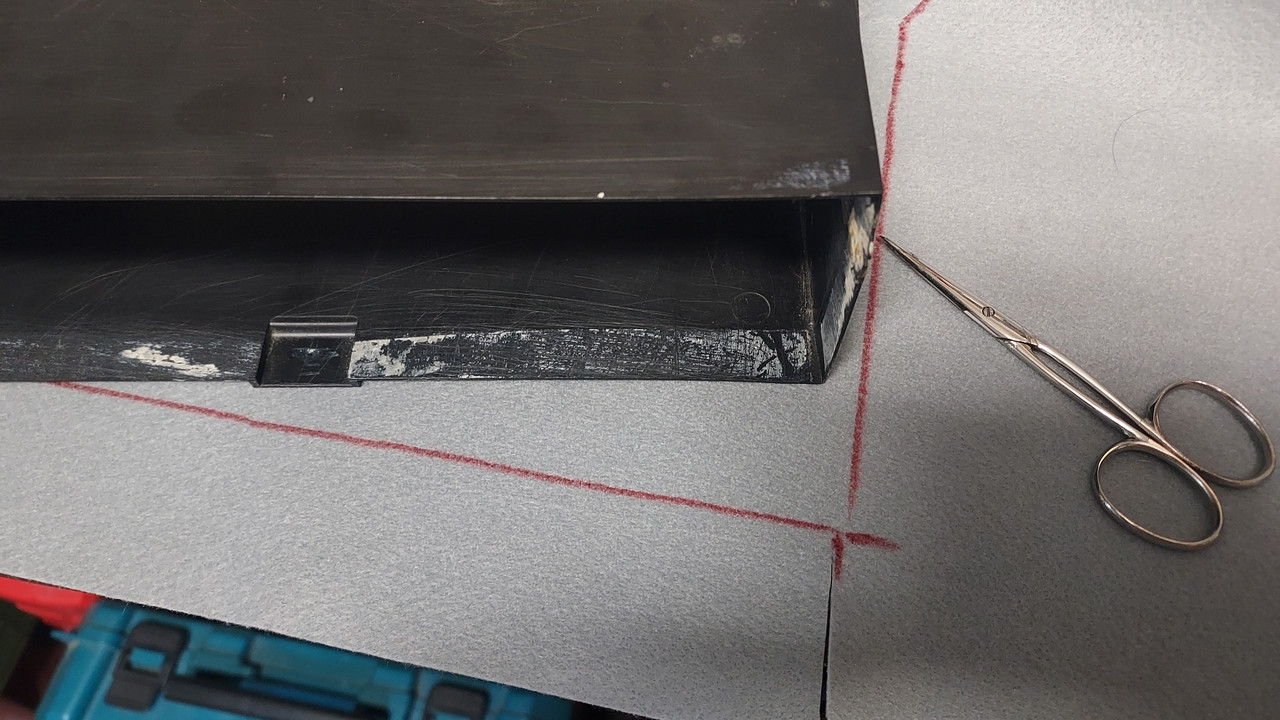
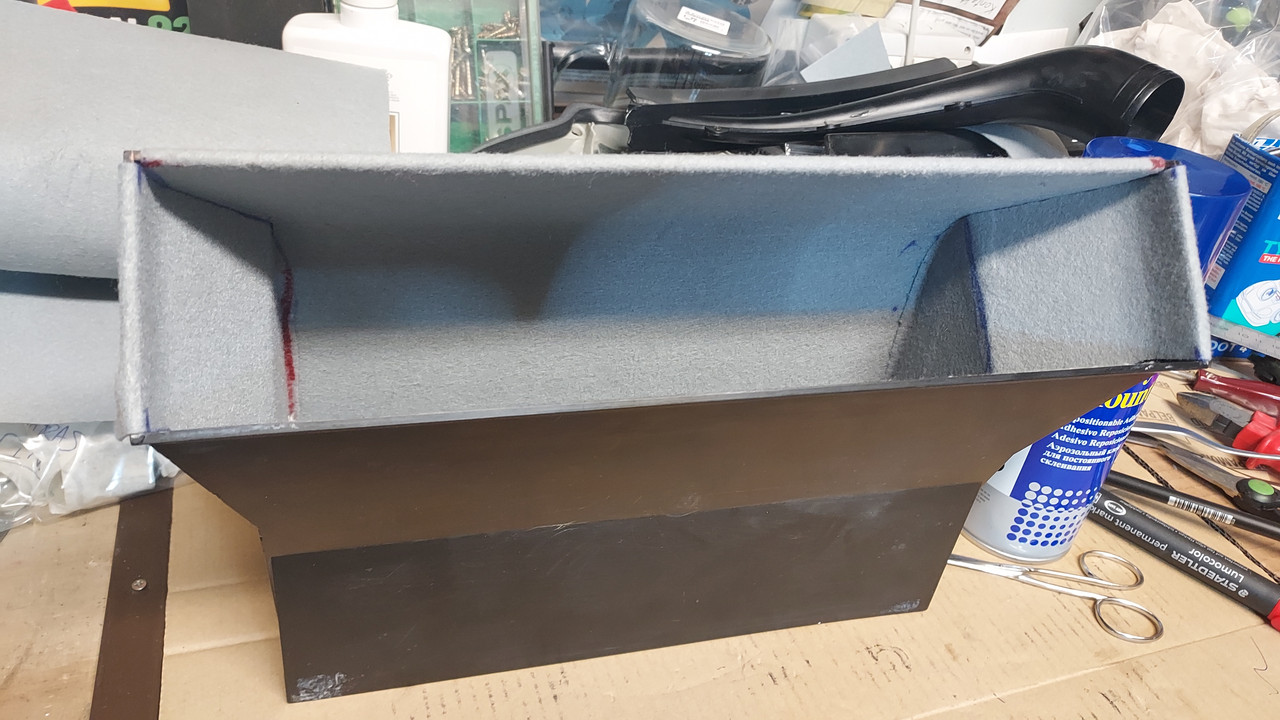
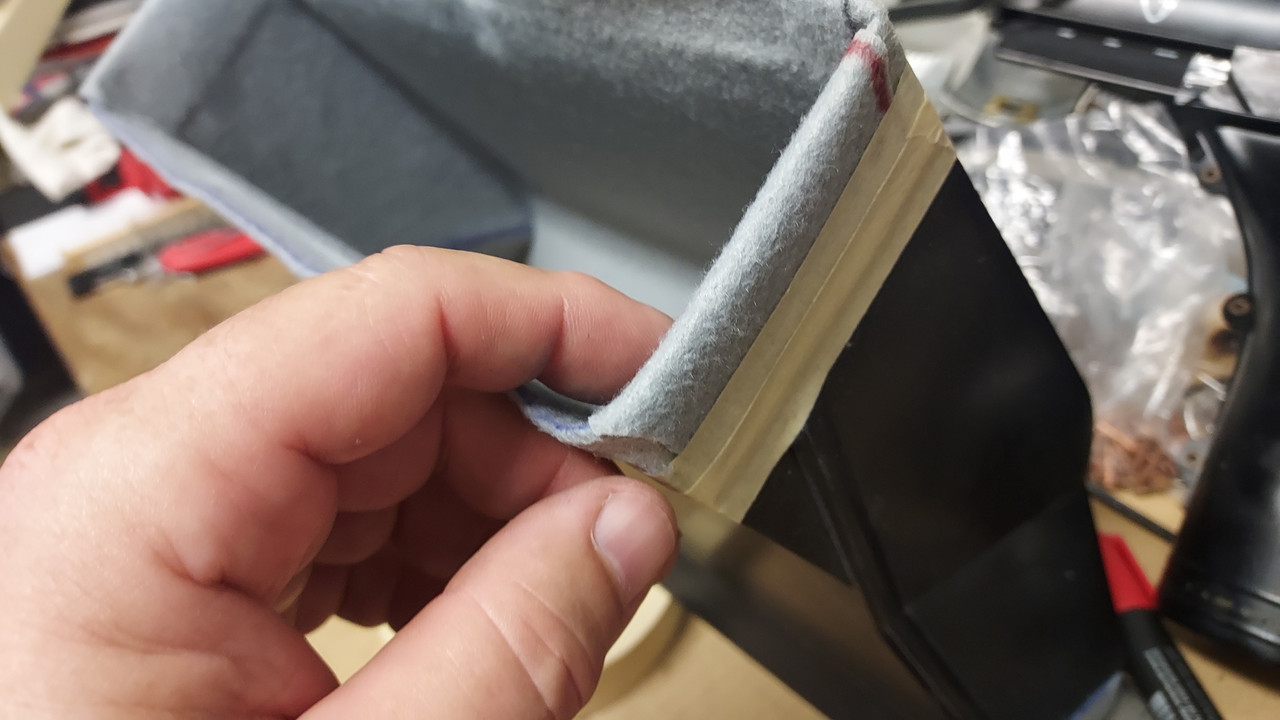
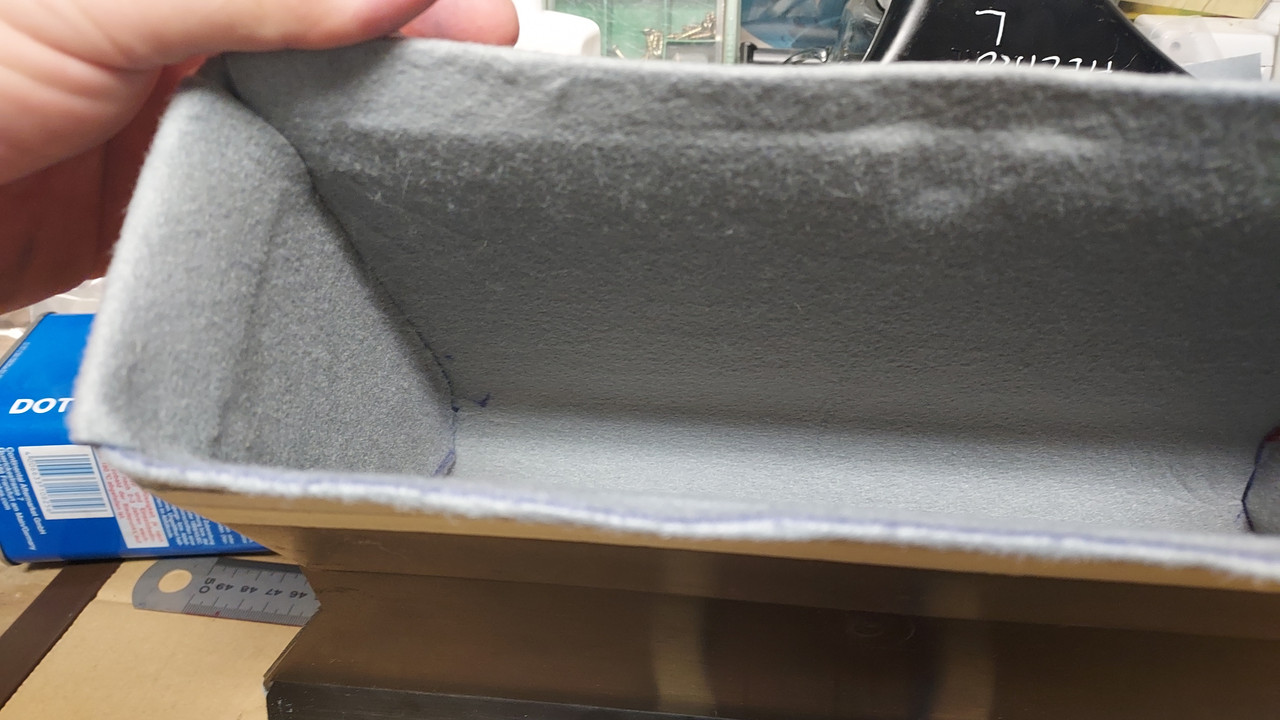
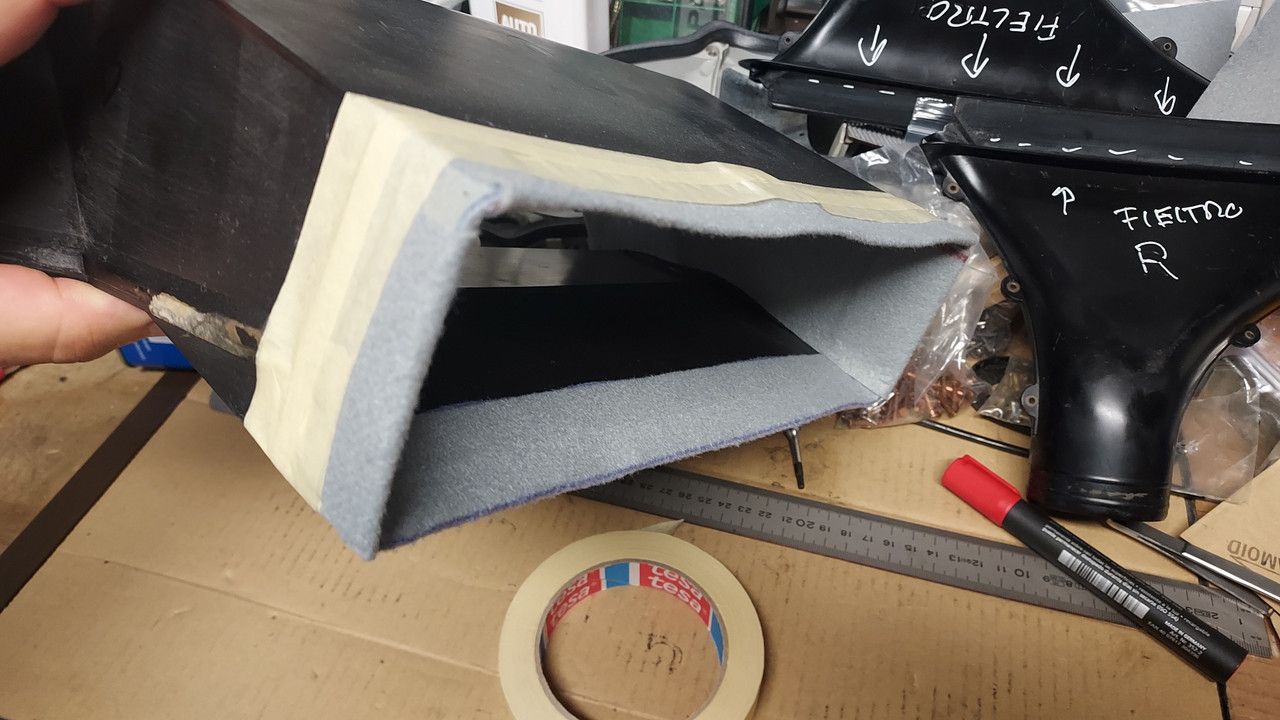
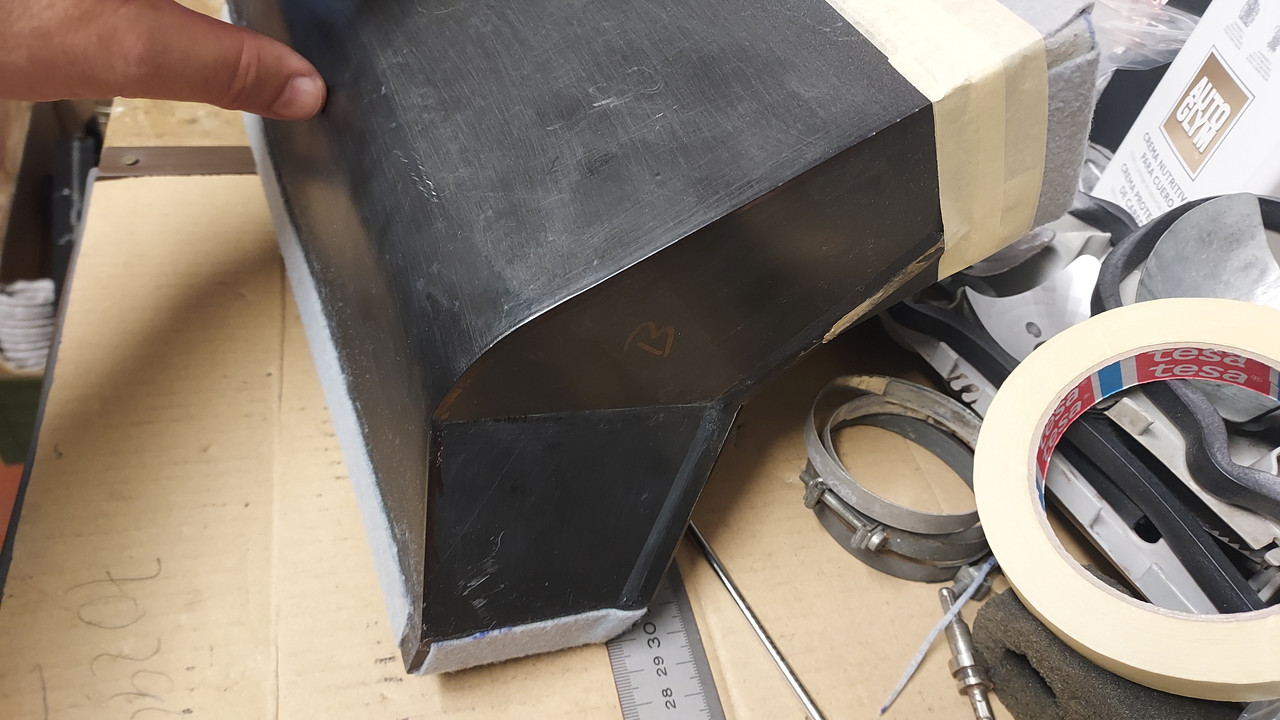
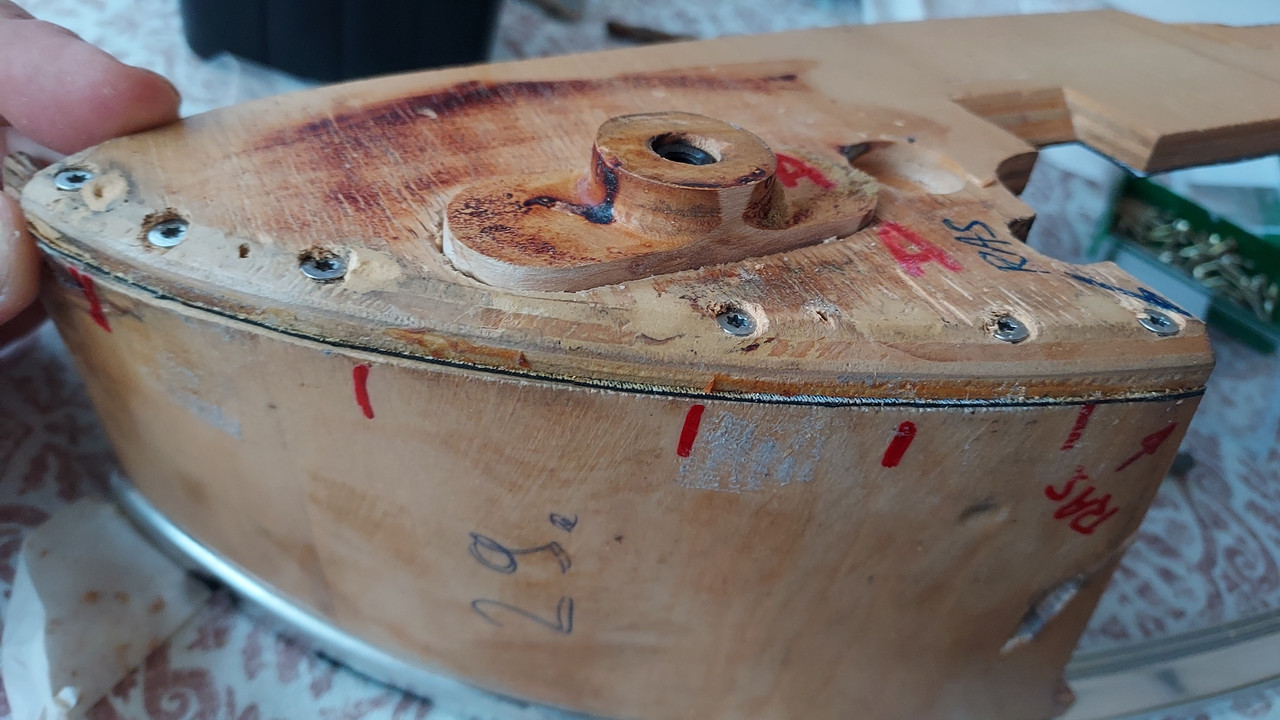
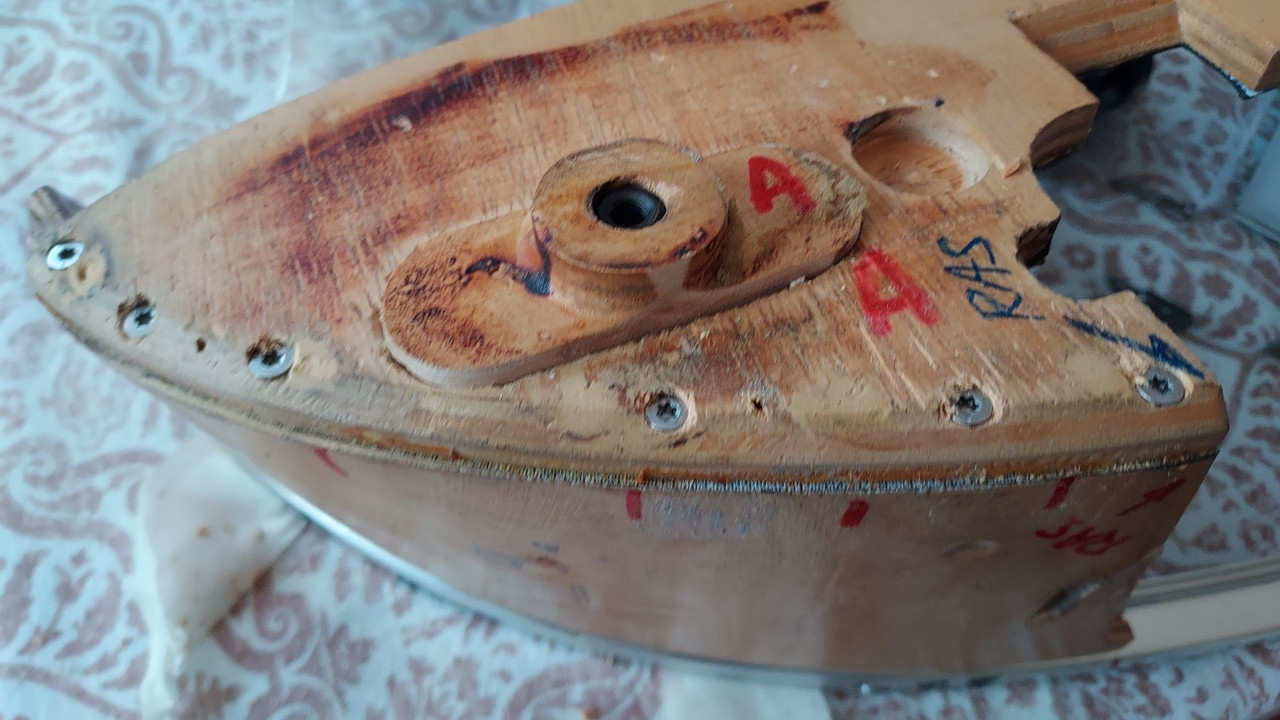
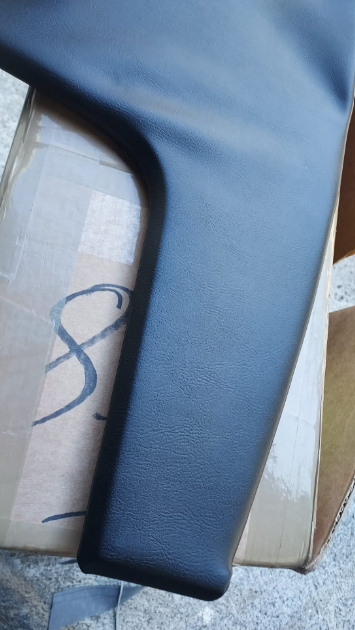
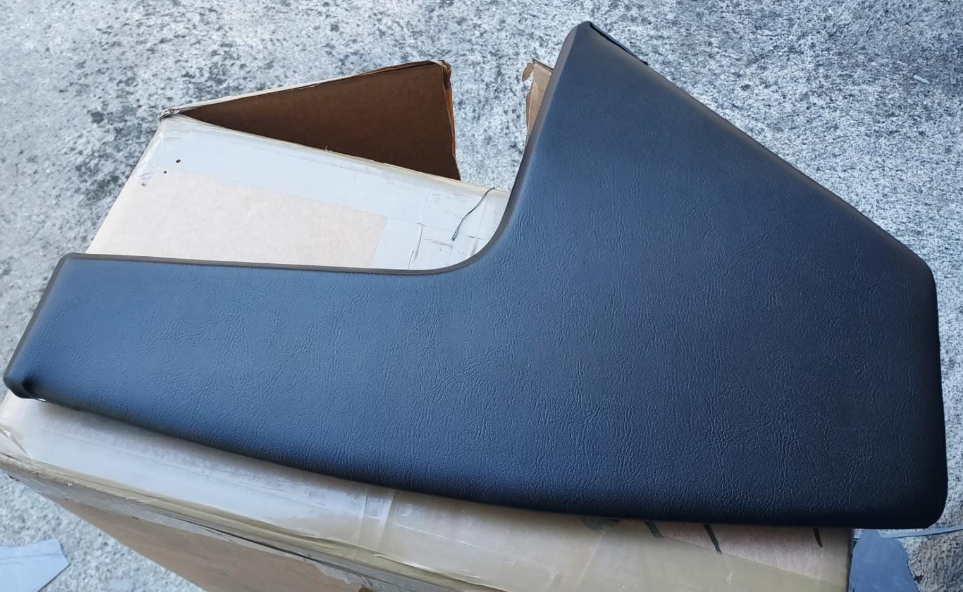
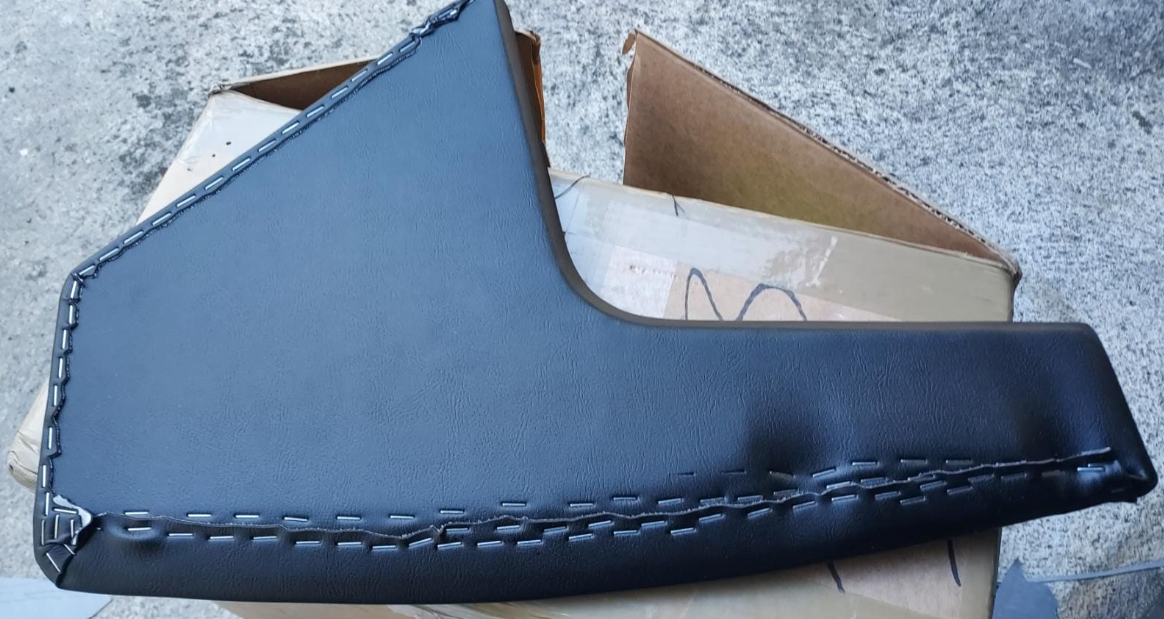
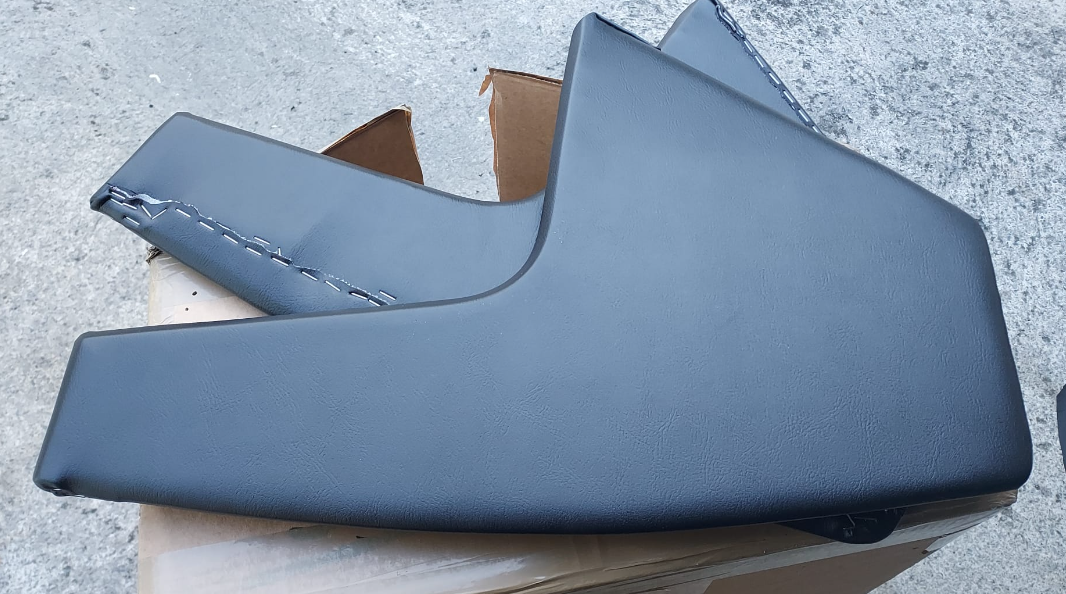
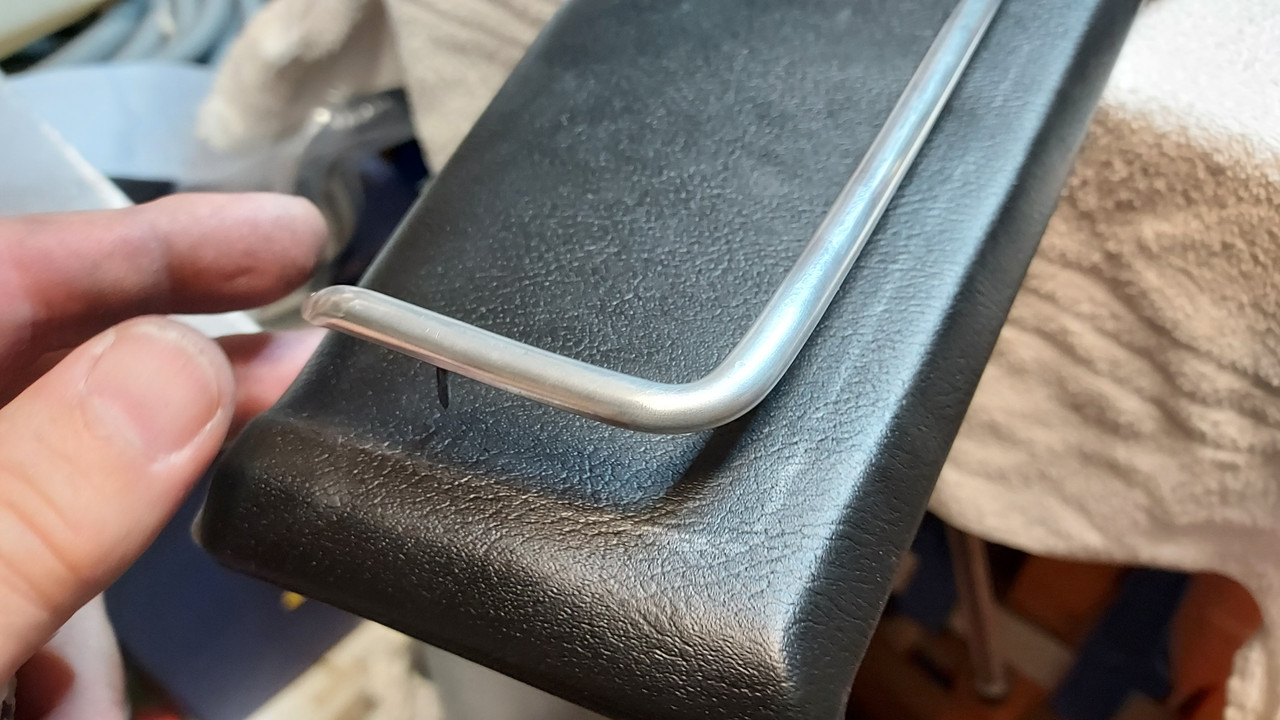
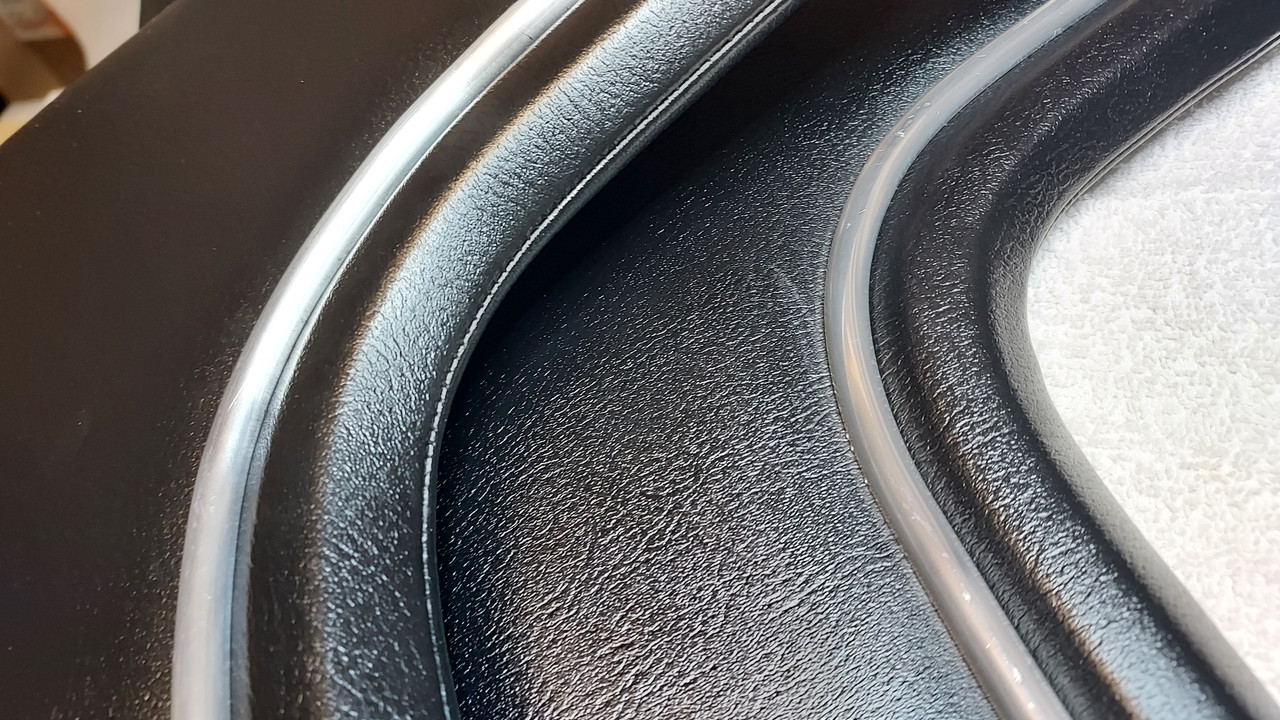
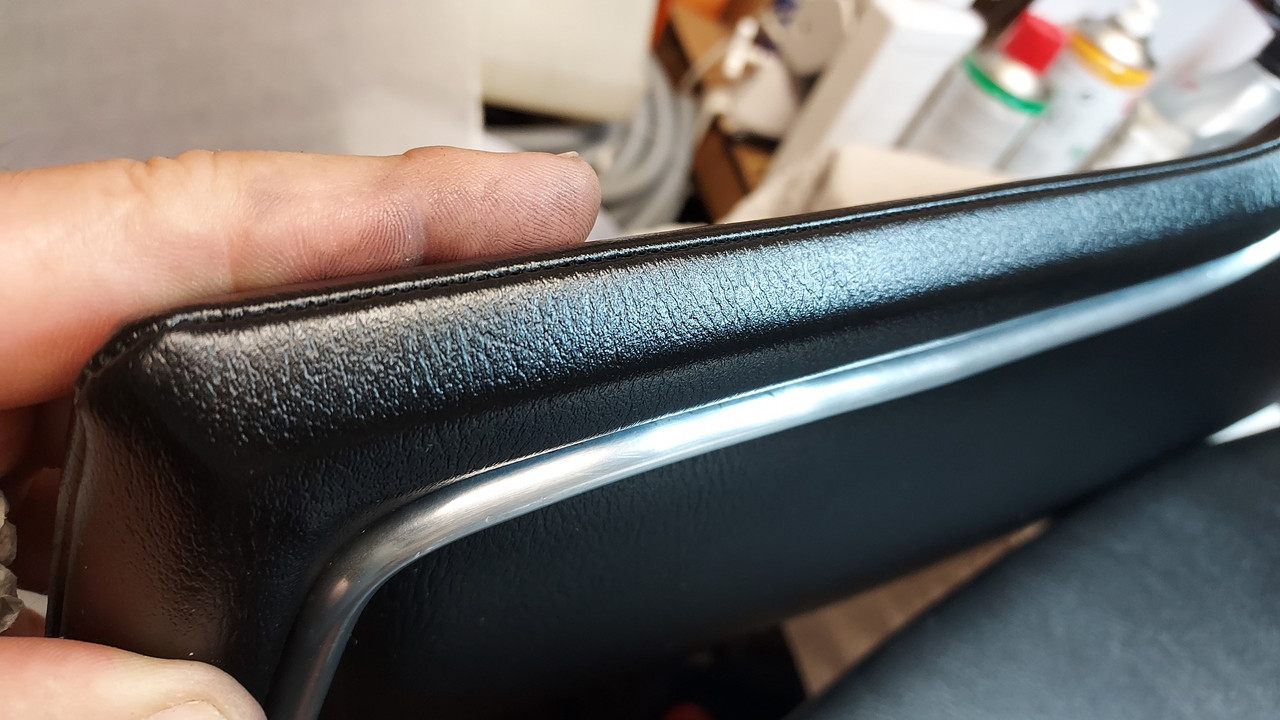
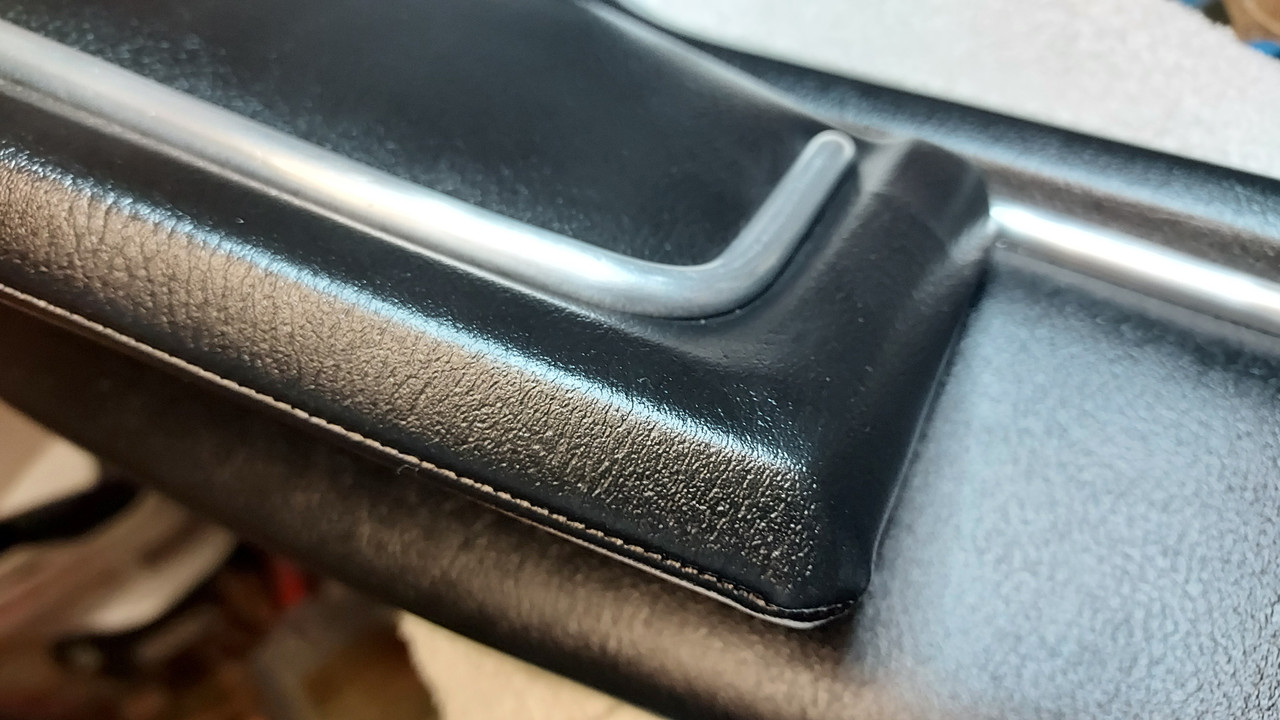
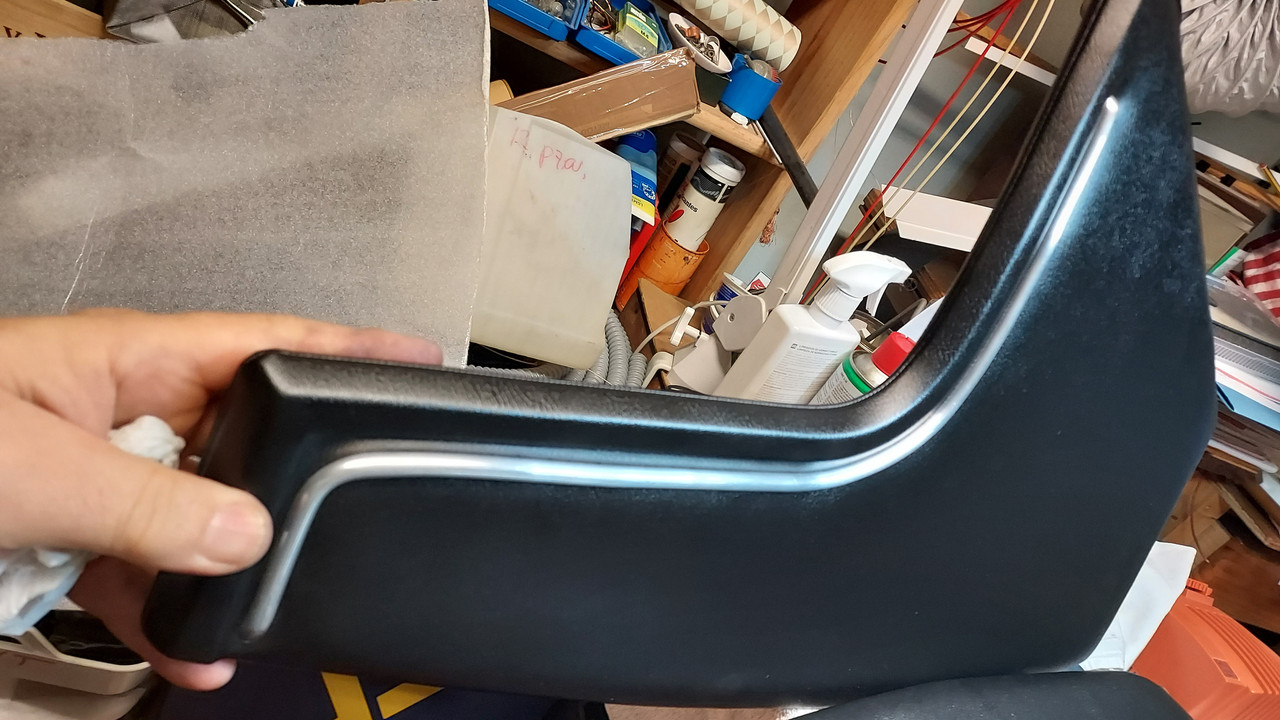
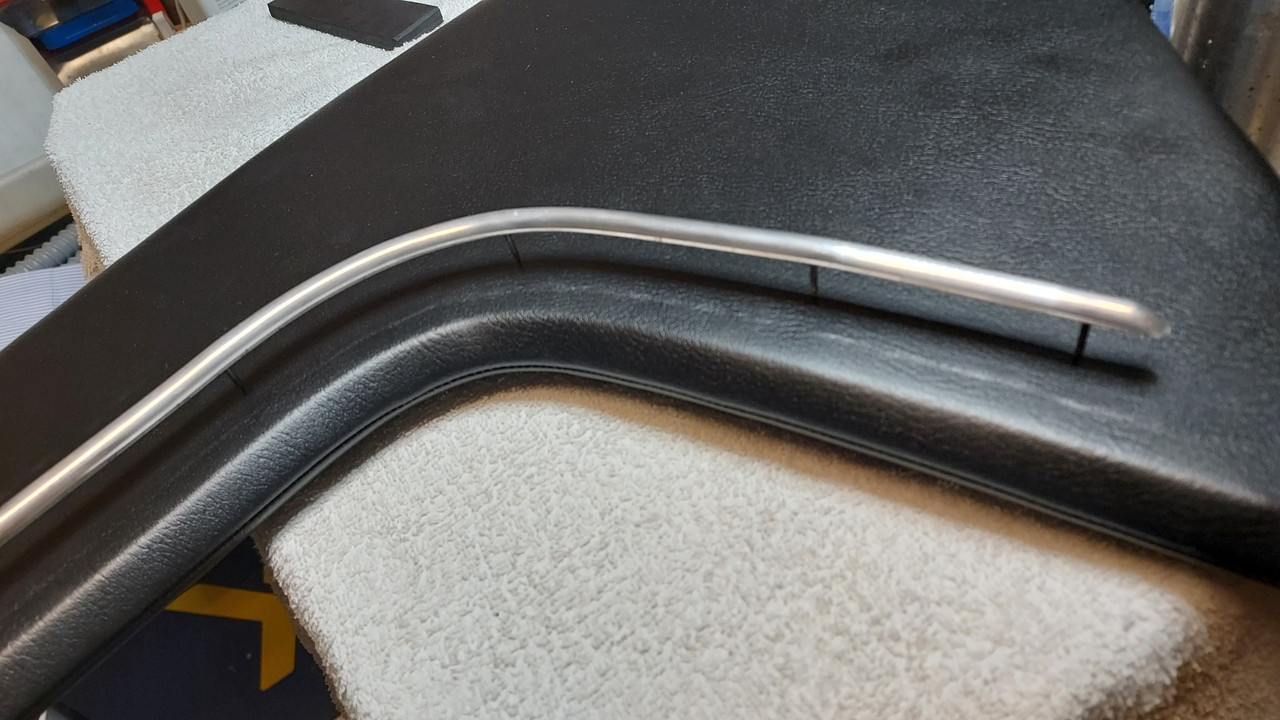
paneles de consolas laterales:
as to the wood that was finished months ago it still needed the rubber and the foam, so...
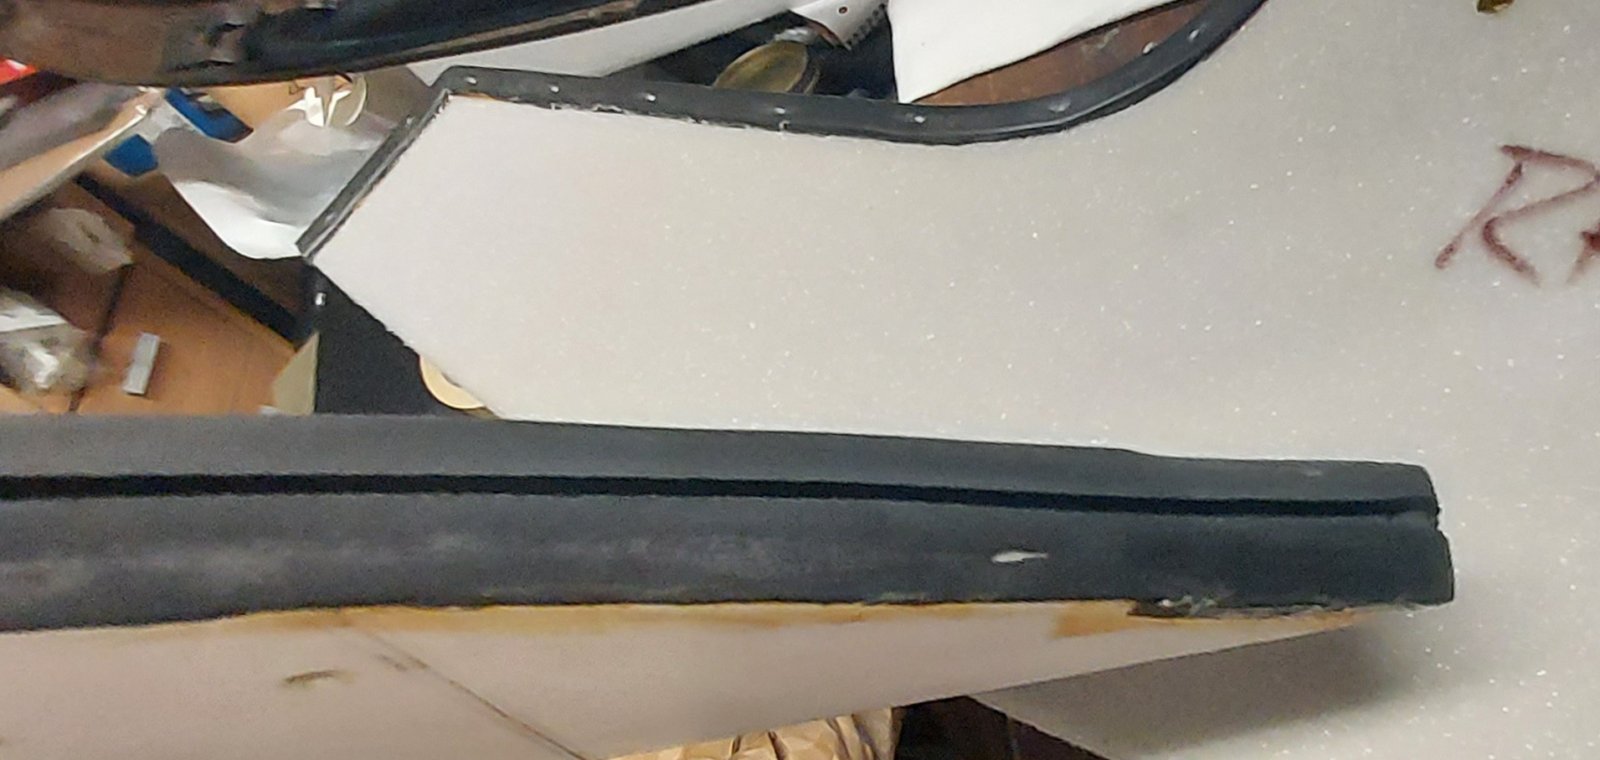
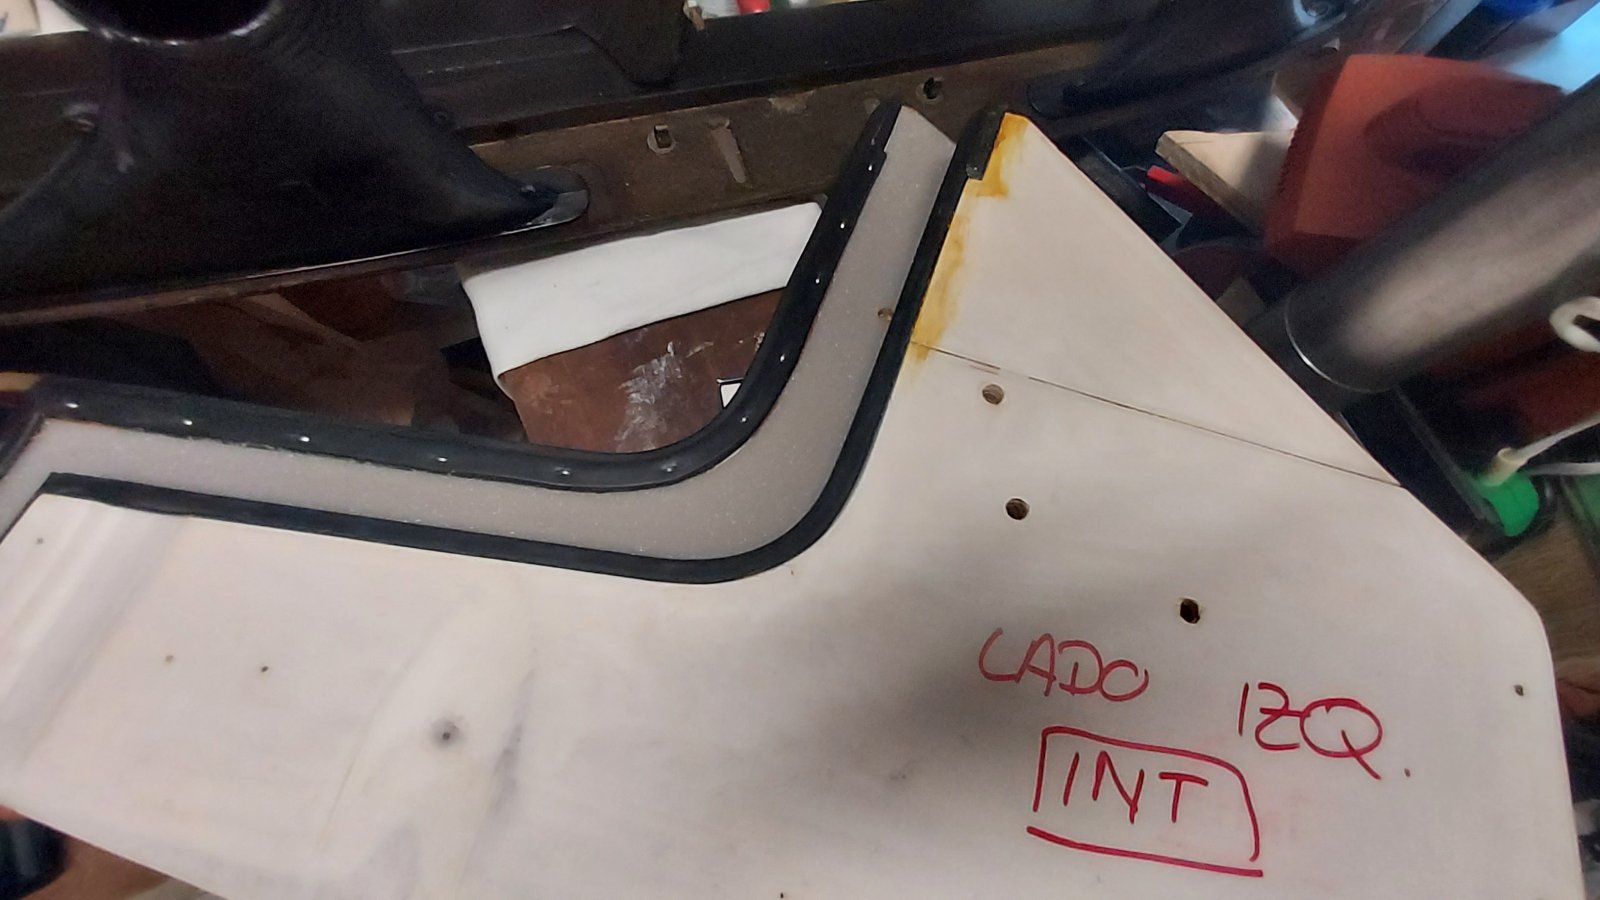
so, once all this was ready it only took 2 hours to complete the upholstery process,...i am getting old...
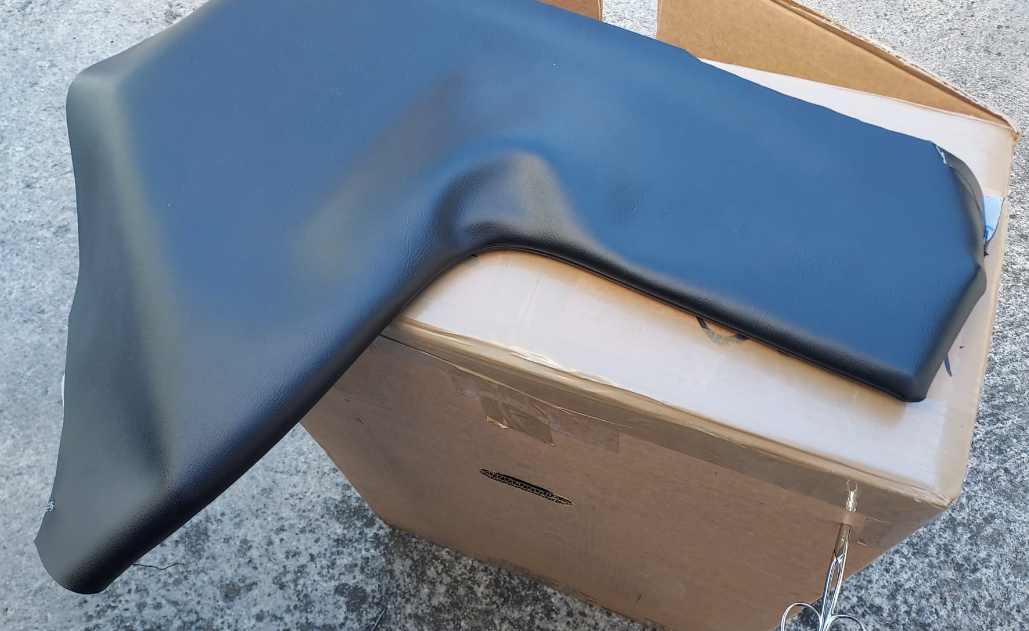
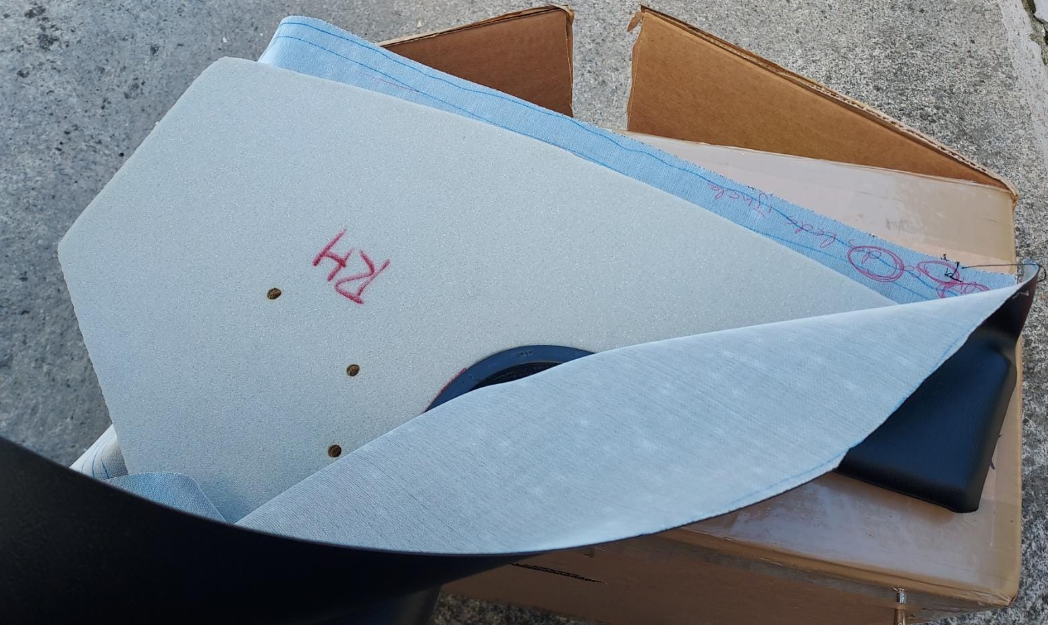
most difficult part is to get the edges inside the rubber channel...
start in one corner back side
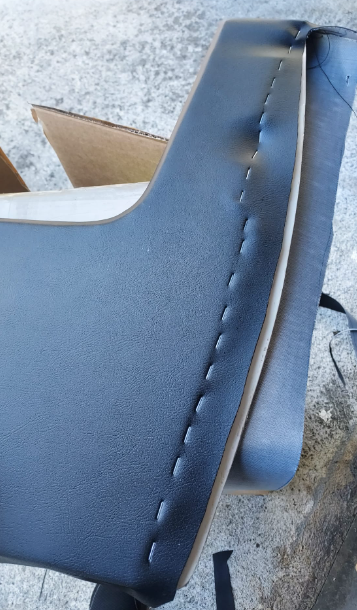
then turn other side and pull while puting staples to fix
keep the tension and work the other end
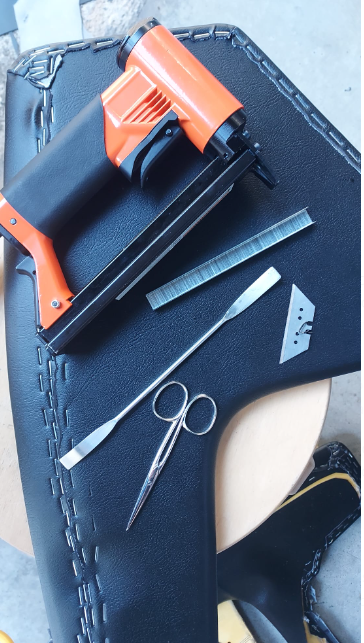
tools
relevant:
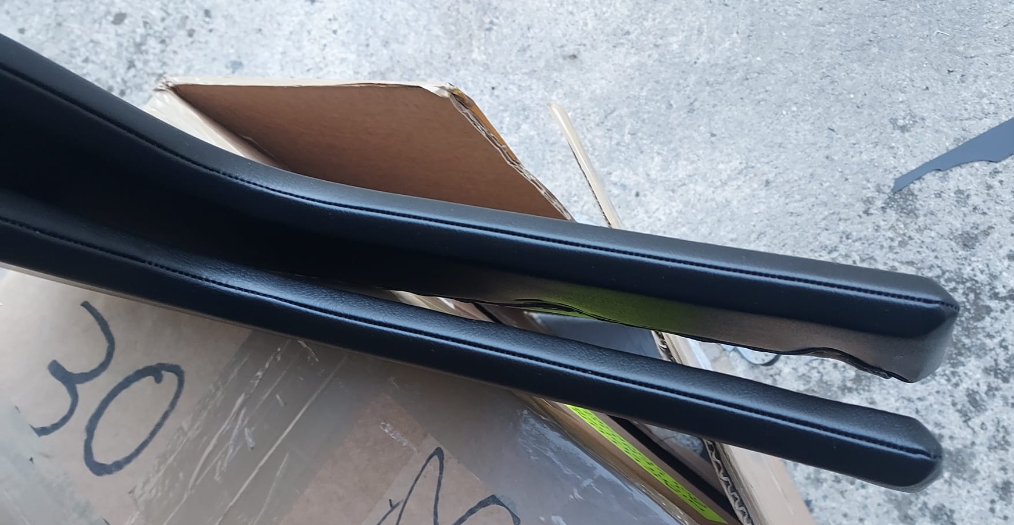

ready for the alu trim lines
as to the wood that was finished months ago it still needed the rubber and the foam, so...
so, once all this was ready it only took 2 hours to complete the upholstery process,...i am getting old...
most difficult part is to get the edges inside the rubber channel...
start in one corner back side
then turn other side and pull while puting staples to fix
keep the tension and work the other end
tools
relevant:
ready for the alu trim lines
LM Informat
Forista
- Registrado
- 16 Sep 2012
- Mensajes
- 1.288
- Reacciones
- 434
los hay con paciencia...
dequincey
Forista Legendario
- Modelo
- be em be e neun
- Registrado
- 5 Nov 2009
- Mensajes
- 11.070
- Reacciones
- 9.862
paneles de consolas laterales:
as to the wood that was finished months ago it still needed the rubber and the foam, so...
so, once all this was ready it only took 2 hours to complete the upholstery process,...i am getting old...
most difficult part is to get the edges inside the rubber channel...
start in one corner back side
then turn other side and pull while puting staples to fix
keep the tension and work the other end
tools
relevant:
ready for the alu trim lines
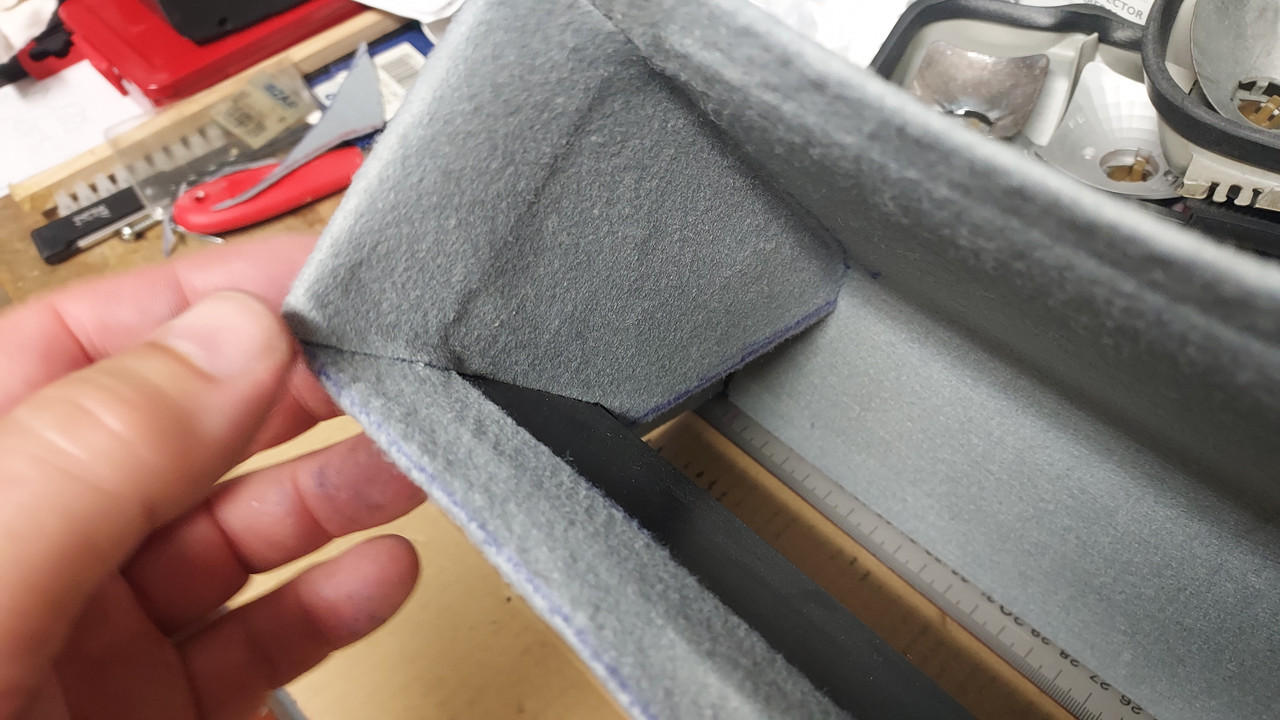
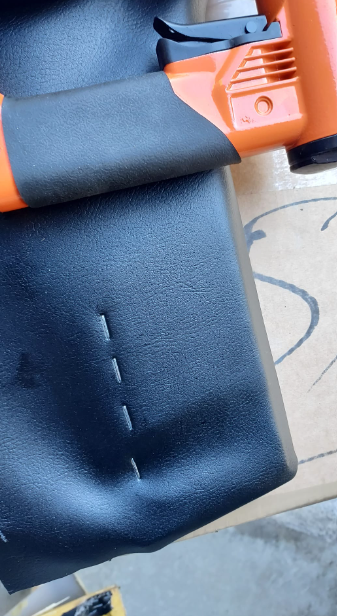
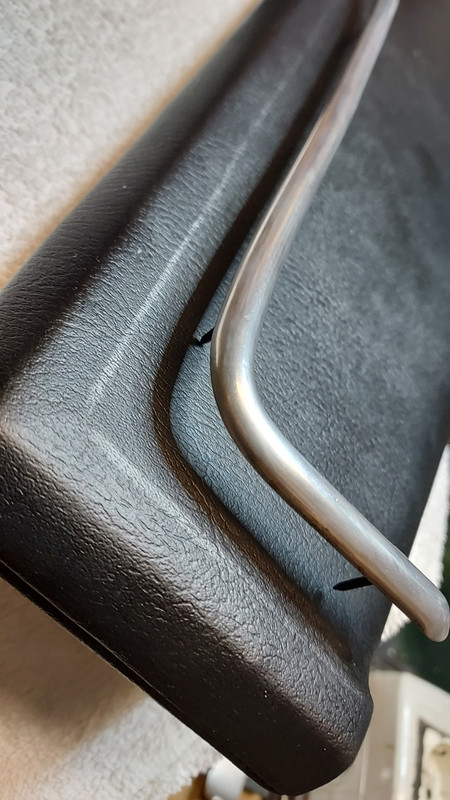
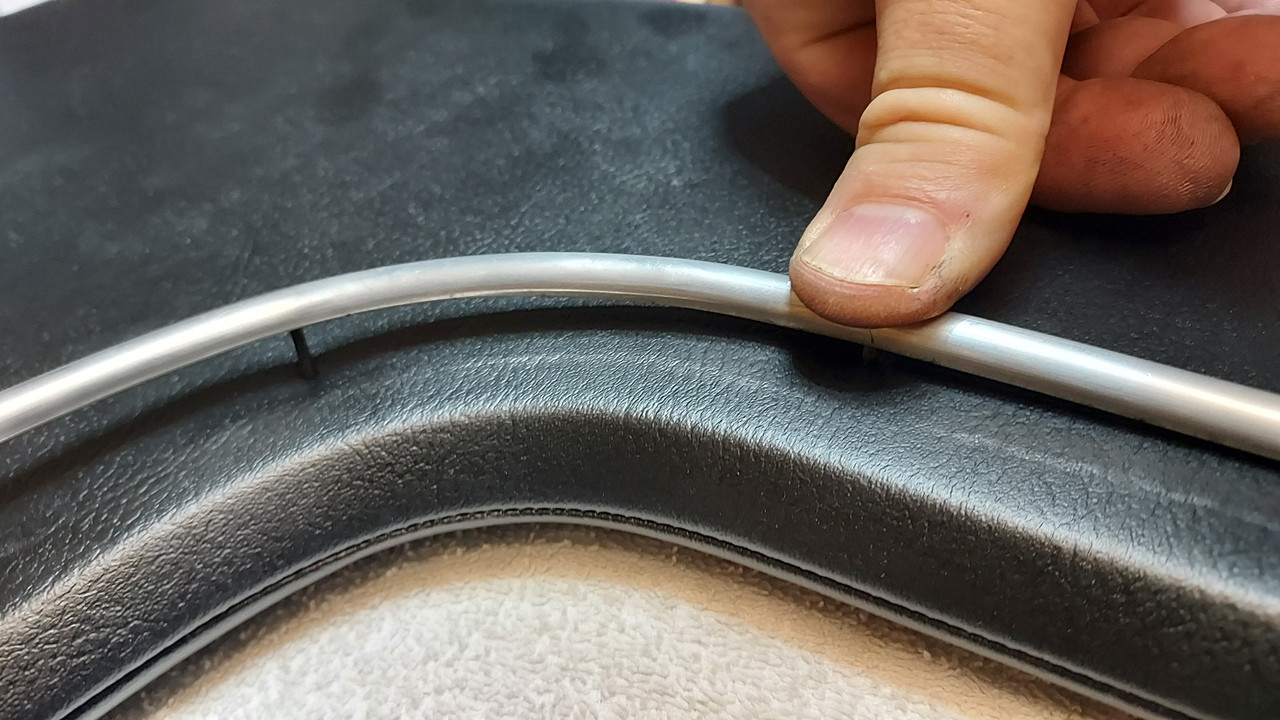
Para terminar con las consolas el todo o nada de las molduras de aluminio,
si te equivocas hay que tirar las fundas y hacerlas nuevas, es un momento crítico

dequincey
Forista Legendario
- Modelo
- be em be e neun
- Registrado
- 5 Nov 2009
- Mensajes
- 11.070
- Reacciones
- 9.862
"extasiaaaaaoooo" me tienes siempre
my life es un estado de extasiamiento constante…
Similar threads
- Respuestas
- 5
- Visitas
- 800
- Respuestas
- 4
- Visitas
- 1K
- Respuestas
- 3
- Visitas
- 345
- Respuestas
- 5
- Visitas
- 600